Within a matter of minutes, you can set up and play your first stream on a customizable webpage hosted by Wowza Video™.
Wowza Video lets you easily stream live video to any device, scaling automatically to accommodate audiences of any size, anywhere. Wowza Video accepts video from nearly any encoder or IP camera, transcodes that video in the cloud, and delivers a high-quality stream in multiple bitrates that can be watched in a customizable player on virtually any device.
This tutorial walks you through using Wowza Video to deliver a stream from a video source to a player on a hosted page. You'll use a camera to capture a video stream that's pushed to the Wowza Video service for processing, and then the highest quality stream for each viewer's bandwidth is delivered to the player. Wowza Video handles the entire streaming and viewing experience.
Video tutorial: Get started with Wowza Video
See how to get started with live streaming using the Wowza Video user interface.
Before you start
You should have access to the following items:
- A Wowza Video account or a free trial account.
- A video source (camera or encoder). This tutorial uses OBS Studio as an encoder to send an RTMP stream to Wowza Video. For more information about OBS Studio and to download the application, visit the OBS website.
1. Sign in to Wowza Video
You can sign in to Wowza Video using any modern web browser that supports HTML5 and Cascading Style Sheets level 3 (CSS 3). The Wowza Video user interface has been most extensively tested on Google Chrome, however, so for best results we recommend that you use the latest version of Google Chrome.
- Access Wowza Video:
- Click Launch Wowza Video when you complete your purchase in the Wowza portal.
- Go to video.wowza.com.
- Click Launch Wowza Video when you complete your purchase in the Wowza portal.
- Sign in using your Wowza credentials and accept the Terms of Use if prompted.
Welcome to Wowza Video!
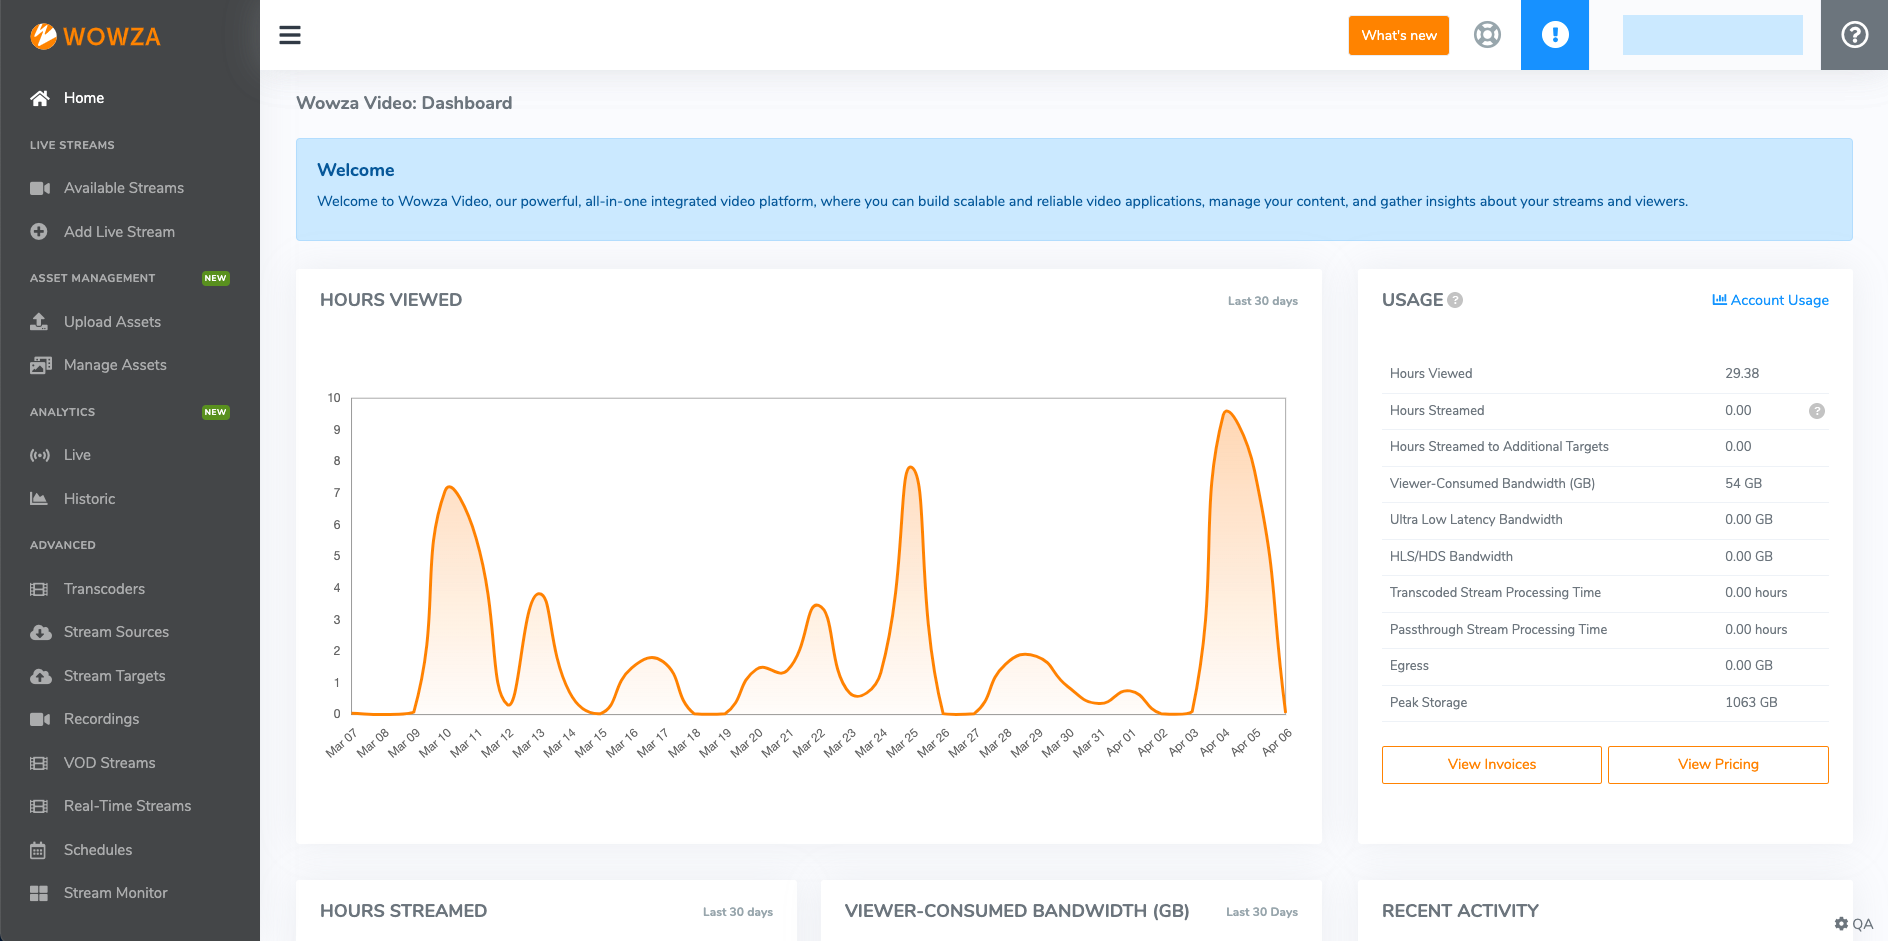
The Wowza Video home page provides recent activity information, usage data, and updates on new features and functionality. To learn more about the options available in the Wowza Video user interface, see the User interface reference.
2. Create a live stream
The quickest way to your first broadcast is with a live stream. In Wowza Video, a live stream automatically handles a lot of the configuration and processing necessary to provide your stream to a global audience.
Complete the following steps to create a live stream in Wowza Video:
- Click Add Live Stream.
The following steps explain how to create a live stream to get started with streaming quickly, but for detailed information about any of live stream setup options, see the Live Stream Setup page in Wowza Video.
- On the Live Stream Setup page, enter a short and descriptive name for the stream.
- Select the Broadcast Location that's closest to the video source and supports the features you want to use. Selecting the closest location minimizes network distance and reduces latency. This location is where Wowza Video transcodes your stream. By default, the broadcast location is based on your browser's time zone.
- Click Next.
-
Now, Wowza Video needs information about the camera or encoder you're using and how to process the live stream.

- Select Other RTMP as your camera or encoder because you're using OBS Studio for this tutorial. RTMP is one of the most common input protocols so setup would be similar for any RTMP encoder.
Depending on the video source, you have different options to further configure how Wowza Video processes the live stream. For the purposes of this tutorial, you can leave some of the default video source and transcoder settings and just specify the following details.
- If you have a 24x7 subscription, choose whether you want to run the stream in A single event or 24x7 channel billing mode. A 24x7 channel is for always on, as opposed to a single live stream for a single event. Streaming charges vary depending on which option you select.
- If your subscription and broadcast location support passthrough streaming, choose whether you want the stream to be Adaptive bitrate (Recommended) or Passthrough.
If you choose Passthrough as your live stream type, Wowza Video does not create adaptive bitrate renditions based on the video source's resolution.
For the purposes of this tutorial, you can leave the next three video source and encoder settings as is (default).
- Select a predefined Input Resolution, or frame size, for the source video from the menu or manually enter it.
Note: Choosing the correct input resolution ensures that the video won't be distorted, squeezed, or cropped when it's played.
The aspect ratio of widescreen, high-definition (HD) video is 16 divided by 9, or 16:9. The aspect ratio of standard-definition video is 4 divided by 3, or 4:3. Full HD video is 16:9 with a frame size of 1280 x 720 pixels.The higher the resolution of the incoming video, the more bitrate renditions Wowza Video generates. A bitrate rendition is a version of the live stream at a specific frame size and bitrate. Wowza Video automatically creates multiple bitrate renditions, based on the resolution of the source video, to offer the best possible playback experience for a viewer's device and bandwidth.
Note: Wowza Video supports HDR in Safari or Native IOS players only if an SDR version is also uploaded.You can leave the remaining video source and encoder settings as is (default).
- Click Next.
You can now optionally configure additional details for your player like whether to include a poster image, countdown clock, or logo. You can also customize the look and feel of your player by including elements like buttons and changing the appearance of the control bar. Also, choose whether you want Wowza Video to create an HTML page to host your video. If you use a hosted page, you won't have to build a page and your viewers won't need to install a special player.

Note: Wowza Video subscribers only have the option of using Wowza Flowplayer. This player leverages a robust, industry-standard player that you can further customize when embedding in your site. Other subscribers should ensure that Original HTML5 player is selected as the player to use.
While you can customize some aspects of Wowza Flowplayer within the Wowza Video user interface, Wowza Flowplayer offers additional functionality you can use. See Embed and customize Wowza Flowplayer in your site to learn about more functionality and how to use it with Wowza Video.Note: If you use your own player, the playback settings are disregarded.
For the purposes of this tutorial:- Make sure Yes is selected for creating a hosted page. Yes is the default value for the hosted page option.
Note: You can't create a hosted page after adding the live stream. If you don't use a hosted Wowza Video page, you can embed the player on your webpage or use your own player. In this case, you would choose No because you wouldn't need a hosted page created by Wowza. When you finish creating the live stream, Wowza Video provides you with the embed code and playback URLs you need for those playback methods on the Overview tab for your live stream.
- Leave the remaining playback settings as is (default).
- Make sure Yes is selected for creating a hosted page. Yes is the default value for the hosted page option.
- Click Next.
Now, you can configure your hosted page.
Enter a short, descriptive title that appears above the player. HTML, JavaScript, and other tags aren't allowed. Wowza Video defaults to the live stream's name as the page title, which you can keep if you'd like.

For the purposes of this tutorial, you can leave the remaining hosted page settings as is (default).
- Click Next.
Now all you need to do is review your live stream configuration before you create it.

- Review your choices and, if necessary, click Back or on the setting pages to edit your selections.
- Click Finish to create the live stream.
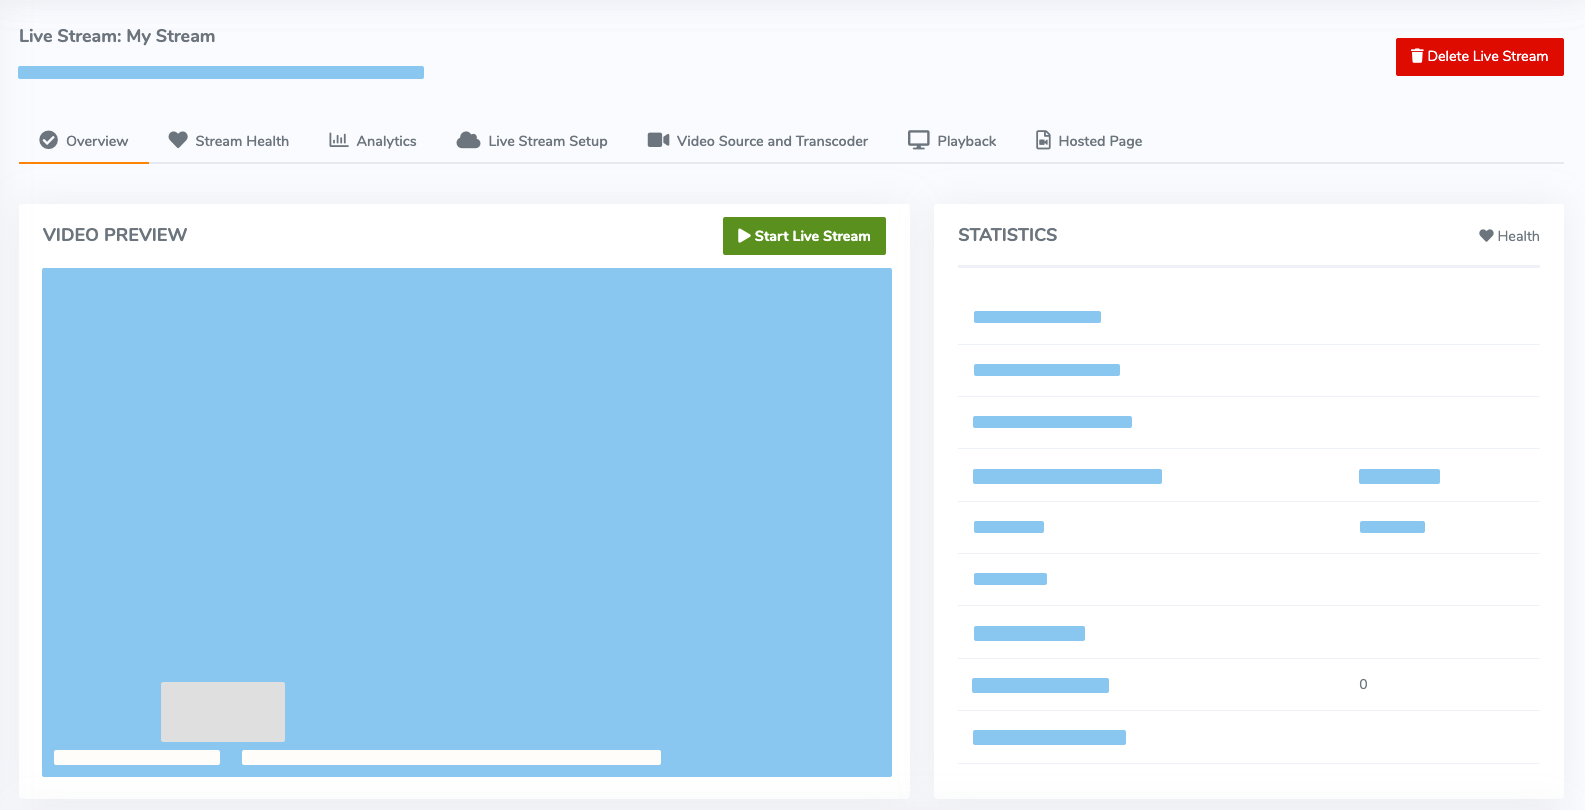
Wowza Video opens the live stream details page for your stream.


After creating a live stream in Wowza Video to receive the video source, you can configure your OBS Studio as your video source so it can connect to Wowza Video.
3. Configure your video source
When you create a live stream, Wowza Video generates some information that you use to send a video source to the live stream for processing. In this case, you enter this information in OBS Studio.
- In Wowza Video, on the Overview tab for your live stream, locate the Source Connection Information section.
You use the information in this section to configure OBS Studio in the following steps.
- Start OBS Studio.
- Click Settings.
- On the Stream tab, for Service, select Custom.
- Enter the Primary Server for your live stream in the Server field.
- Enter the Stream Name for your live stream in the Stream Key field.
- Select Use authentication and enter the Source Username and Source Password for your live stream.
- Click OK.
- Configure OBS to capture video from your camera or capture device.
Note: For more information about configuring OBS Studio, see the OBS Studio documentation.
Now that you've configured your video source, you'll start the live stream in Wowza Video first so it's ready to process the incoming video, then you'll start the stream from OBS Studio.
4. Start streaming
Let's start streaming!
- In Wowza Video, on the Overview tab for your live stream, click Start Live Stream and then click Start to confirm.
It might take a minute for the live stream to start.
- After the live stream in Wowza Video has started, in OBS Studio, click Start Streaming.
When Wowza Video receives the stream, the Video Preview appears on the live stream detail page.
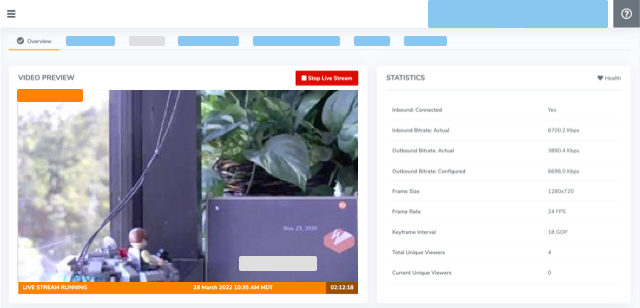
The thumbnail from the live stream updates every five seconds. Below the thumbnail, a date/time stamp indicates when the stream began. Connection, transcoding, and delivery metrics appear in the Statistics panel. - Click the Hosted Page URL to open it and then click play to view your live stream.

You can also share the hosted page URL with anyone else so they can watch too.
- When you're done streaming, in Wowza Video, click Stop Stream at the top of the live stream page. Then stop the stream in OBS Studio.
Important: Transcoding charges accrue for live streams started in Wowza Video even if they aren't actively streaming content. Wowza Video automatically stops idle live streams after 20 minutes, but you should stop your stream as soon as your event ends to avoid accruing unnecessary charges.


You've completed your first live stream! You used an encoder (OBS Studio) to send video to Wowza Video where it was processed and then delivered to viewers.
Next steps
You can now move on to learn how to deliver live streams to additional destinations, get useful information about your streams by reviewing stream health metrics, or configure additional live stream or transcoding settings to build a robust streaming solution.
- Deliver streams to players and targets
- View stream health metrics in Wowza Video
- Work with streams and transcoders
More resources
- Include closed captions in a live stream or transcoder in Wowza Video — If you want to include closed captions in your live stream, you'll need to update the live stream's transcoder.
- Prepare and connect video sources
- Encoding best practices for Wowza Video
- Transcoding best practices in Wowza Video
- Wowza Video YouTube channel


