
The Wowza Video™ service can connect to any H.264 encoder that supports the User Datagram Protocol (UDP). UDP is a connectionless protocol that makes it easier to transmit information quickly, but is also more prone to network issues, packet loss, and packets arriving out of order.
To learn about other live stream or transcoder settings you might see in the user interface, see Live Stream Setup page in Wowza Video or Transcoder Setup page in Wowza Video.
You'll need to choose which workflow you'll use, live stream or transcoder, before you begin this task. See Decide between a live stream or transcoder workflow for more information about these workflows.
Note: Source Security isn't available for UDP.
Live Stream workflow
1. Create a live stream
In the live stream workflow, we'll automatically configure the transcoder, output renditions, and stream targets to get you started quickly. This is the preferred workflow for most of our customers.
Note: The Live Stream Type and Billing Mode can't be changed after the live stream is created.
- Sign in to Wowza Video.
- Click Add Live Stream.
- On the Live Stream Setup page, enter a Live Stream Name, choose a Broadcast Location, and then click Next.
- On the Video Source and Transcoder Settings page, select Other UDP as the video source you want to use to connect to Wowza Video.
- For Live Stream Type, select Adaptive bitrate (Recommended). Alternatively, select Passthrough to send the source video directly to the hosted page or other target without performing transcoding.
- Specify the other video source settings. Then click Next.
- Complete the steps to finish creating the live stream.
Wowza Video creates the live stream and displays the Overview tab of the live stream detail page.
2. Set up the encoder
Make sure you have the latest firmware for your encoder installed. See the encoder's user guide for details about how to update firmware as well as how to operate the device and how to specify settings such as resolution, bitrate, and frame rate.
See the Source Connection Information values on the Overview tab of the live stream detail page for the information that your encoder needs to connect to Wowza Video.
3. Test the connection
- In Wowza Video, select the live stream that uses the UDP encoder as its video source.
- Click Start Live Stream at the top of the live stream detail page.
- Click Start to confirm that you want to start the stream.
- Start the encoder.
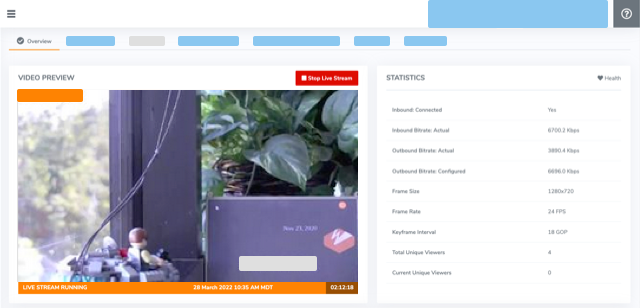
- In the Wowza Video web manager, confirm that the live stream is playing by looking at the Video Preview in the Overview tab of the Live Stream Details page.
The video preview displays a frame from the live stream every 5 seconds. The started date and time appear under the preview. Source stream, transcoder, and delivery metrics begin to update.

- Click Stop Live Stream at the top of the live stream detail page to end your test stream, and then stop the encoder.
Note: If you configure a camera or encoder to push video to the Wowza Video service, it may take up to 10 seconds once the live stream or transcoder has started for the encoder to connect. This is due to DNS lookup of the host server's IP address. For a more immediate connection, in the encoder settings, use the IP address that's visible in Wowza Video after the live stream or transcoder has started. See Speed up the connection to a transcoder in Wowza Video for more information.
Transcoder workflow
1. Create a transcoder
In the transcoder workflow, you'll manually configure the transcoder, output renditions, and stream targets to fit your specific streaming solution.
Note: The Transcoder Type and Billing Mode can't be changed after the transcoder is created.
- Sign in to Wowza Video.
- Under Advanced in the left navigation bar, click Transcoders, and then click Add Transcoder.
- On the Transcoder Setup page, enter a descriptive Transcoder Name.
- For Transcoder Type, choose Adaptive bitrate (Recommended). Alternatively, select Passthrough to send the source video directly to the hosted page or other target without performing transcoding.
- For Closed Captions, choose None, CEA-608, onTextData, or CEA-608 and onTextData.
- For Source Protocol, select UDP.
- For Source Delivery Method, select Push to Wowza Video to send the stream to the transcoder at its Broadcast Location. Pull from a source URL and Push to an existing stream source aren’t available for UDP.
- Specify other transcoder setup options.
- Click Add.
Wowza Video creates the transcoder and displays the Outputs & Targets tab of the transcoder detail page. - Complete the transcoder by adding output renditions and stream targets. For instructions, see one of the following articles, depending on whether you're creating an adaptive bitrate or passthrough transcoder:
2. Set up the encoder
Make sure you have the latest firmware for your encoder installed. See the encoder's user guide for details about how to update firmware as well as how to operate the device and how to specify settings such as resolution, bitrate, and frame rate.
See the Host Server and Host Port values on the Overview tab of the transcoder detail page for the information that your encoder needs to connect to Wowza Video.
3. Test the connection
- In Wowza Video, select the transcoder that uses the UDP encoder as its video source.
- Click Start Transcoder at the top of the transcoder detail page.
- Click Start to confirm that you want to start the stream.
- Start the encoder.
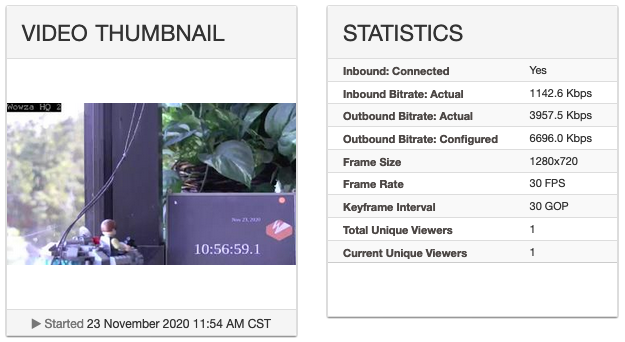
- In Wowza Video, confirm that the stream is working by looking at the Video Thumbnail on the Overview tab of the transcoder detail page.
The Video Thumbnail displays a frame from the stream every five seconds. The started date and time appear at the bottom of the thumbnail. Connection, transcoding, and delivery metrics begin to update in the Statistics panel.
- Click Stop Transcoder at the top of the transcoder detail page to end your test stream, and then stop the encoder.
Note: If you configure a camera or encoder to push video to the Wowza Video service, it may take up to 10 seconds once the live stream or transcoder has started for the encoder to connect. This is due to DNS lookup of the host server's IP address. For a more immediate connection, in the encoder settings, use the IP address that's visible in Wowza Video after the live stream or transcoder has started. See Speed up the connection to a transcoder in Wowza Video for more information.
More resources
- Get started with Wowza Video
- Encoding best practices for Wowza Video
- Include closed captions in a live stream or transcoder in Wowza Video — If you want to include closed captions in your live stream, you'll need to update the live stream's transcoder.


