With the Wowza Video™ service you can send live streams to YouTube Live, where your audience can watch your live event. Streaming to YouTube Live requires that you have a Google account and that you're set up in YouTube to broadcast live streams.
To learn about other live stream or transcoder settings you might see in the user interface, see Live Stream Setup page in Wowza Video or Transcoder Setup page in Wowza Video.
Before you start
You should complete the following tasks:
- Decide between the live stream or transcoder workflow. YouTube only accepts one stream, or output rendition, which it transcodes for playback.
- Live stream: Prepare a stream for YouTube by creating an adaptive bitrate live stream to send only the highest output rendition
- Transcoder: Create a passthrough transcoder and send the transcoder's one passthrough rendition to Youtube. This requires a subscription that supports passthrough streaming.
If you're not sure what type of subscription you have, check your account on the Wowza portal.
For information about 24x7 and passthrough streaming subscriptions, see Wowza Video 24x7 streaming plans.
1. Create a live stream in YouTube Studio
To use Wowza Video as a video source for YouTube, you first need to set up a live stream in YouTube Studio. For more information about YouTube Studio, see the YouTube help article Intro to YouTube Studio.
- Go to the YouTube Studio Live Streaming page and sign in with your Google credentials.
- On the Stream tab, if given the option to choose between copying an existing stream or creating a new stream, click New Stream.
- On the New stream dialog box, enter a title, privacy level, description, category, and other details for the live stream, and then click Create Stream.
- Note the Stream URL and the Stream name/key that YouTube generates. You'll use those values when configuring the stream target for your application.
2. Create a live stream
When you create a live stream, Wowza Video automatically creates multiple adaptive bitrate output renditions based on the aspect ratio and resolution of the source video. However, you're only going to need the highest bitrate output rendition. That's what you'll send to YouTube.
- In Wowza Video, click Add Live Stream.
- On the Live Stream Setup page, enter a Live Stream Name, choose a Broadcast Location, and then click Next.
- If you have the option on the Video Source and Transcoder Settings page, specify the Live Stream Type as Adaptive bitrate (Recommended).
- Specify other video source settings, including an aspect ratio of 1280 x 720. Then click Next.
- Click Next two times to skip the Playback Settings and Hosted Page Settings pages. These options don't matter if you're delivering the stream to viewers on YouTube.
- On the Review page, click Finish to create the live stream. Wowza Video creates the live stream and displays the Overview tab of the live stream detail page.
- To prepare the live stream for YouTube, go to the stream's transcoder detail page. Click Advanced on the menu bar, then click Transcoders.
- Select your live stream's transcoder. It appears as [Live stream name] / Transcoder.
- Click the Outputs & Targets tab of the transcoder detail page.

The Outputs & Targets tab displays the output renditions for your live stream. The first output on the list is the highest bitrate output rendition, which you will send to YouTube.
- You won't use the other renditions, so delete them. Starting with the second output on the page, click the trash can icon. When prompted, click OK to confirm that you want to delete the output.
- Repeat Step 10 to delete the other adaptive bitrate output renditions until only the highest bitrate rendition remains.
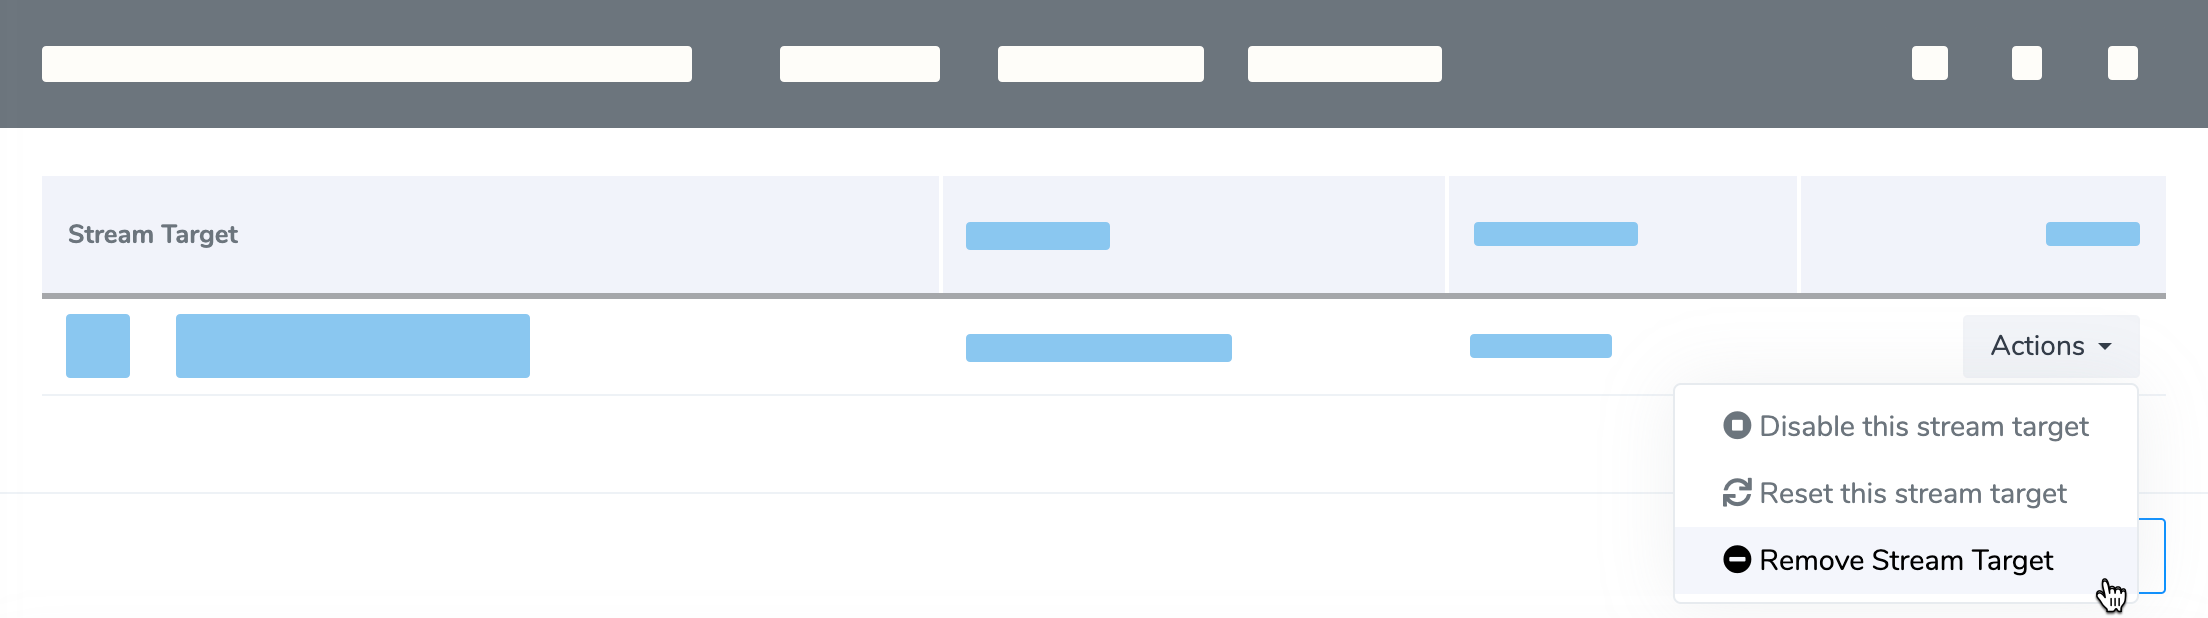
There's one more clean-up step. You're not using the stream target that Wowza Video automatically created for the highest bitrate output rendition, so delete it too.
-
Click the Actions button for the highest bitrate output's assigned target and then click Remove Stream Target. When prompted, click OK to confirm that you want to delete the target.

Now you're ready to create the custom YouTube stream target for your live stream.
2. Create a passthrough transcoder
- In Wowza Video, click Advanced on the menu bar, click Transcoders, and then click Add Transcoder.
- On the Transcoder Setup page, enter a Transcoder Name.
- For Transcoder Type, choose Passthrough. Then, choose a Broadcast Location that's as close as possible to the origin point of your stream.
- For Closed Captions, choose None or CEA-608-digital.
- Specify the other transcoder setup options.
- Click Add.
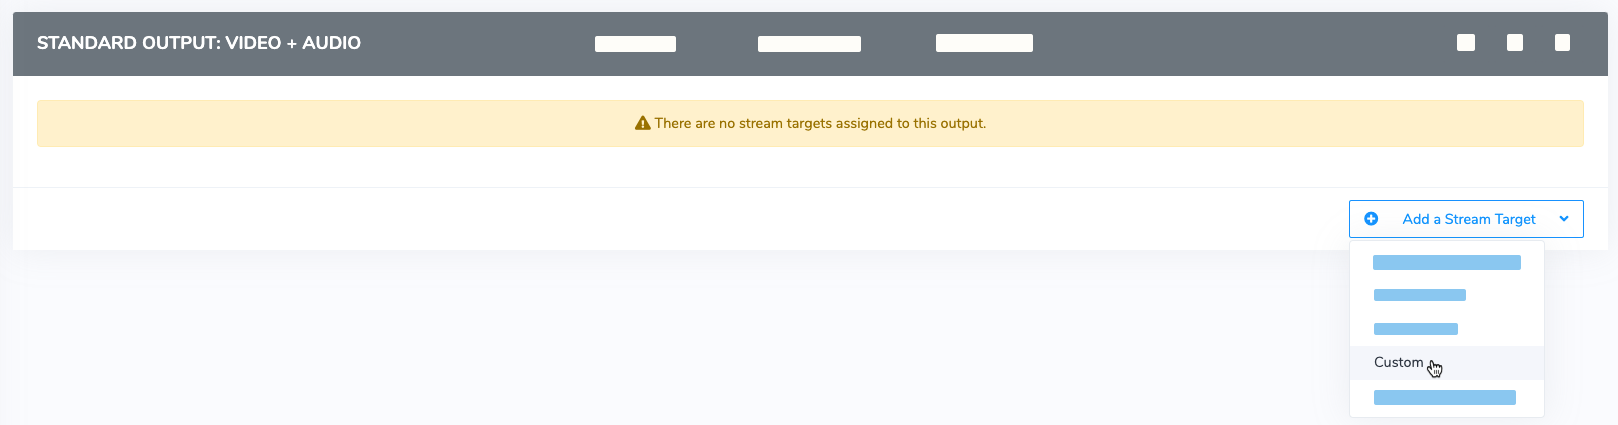
Wowza Video creates the transcoder and displays the Outputs & Targets tab of the transcoder detail page. A single passthrough output rendition is ready for the transcoder. Continue by creating a custom YouTube stream target for it.
3. Create a YouTube target for the live stream or transcoder
Next, create a custom target that sends the live stream or transcoder's output rendition to YouTube over RTMP.
- On the Outputs & Targets tab of the transcoder detail page, click Add a Stream Target. Then choose Custom.
- On the Create a custom target page, provide details for the YouTube target:
- Target Name - A short, descriptive name for this target.
- Provider - Choose RTMP.
- Primary URL - The Stream URL located on the Stream Settings tab of the YouTube Live Control Room page for your event. Omit the RTMP prefix and the trailing slash.
- Backup URL - The Backup server URL located on the Stream Settings tab of the YouTube Live Control Room page for your event, if you choose to use it for increased redundancy. Omit the RTMP prefix and the trailing slash.
- Stream Name - The Stream name/key located on the Stream Settings tab of the YouTube Live Control Room page for your event
- Target Username - Leave blank.
- Target Password - Leave blank.
- RTMP Playback URL - Leave blank.
- Click Add.

4. Start your stream
Ensure your video source is set up, connected to Wowza Video, and ready to roll. Then:
- Select your transcoder.
- Click Start Transcoder at the top of the transcoder detail page.
- Click Start to confirm that you want to start the transcoder. Wowza Video starts the transcoder and connects with the source.
- Start your video source.
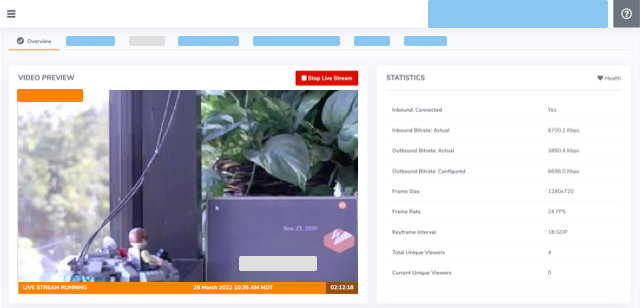
- In the Wowza Video web manager, confirm that the live stream is playing by looking at the Video Preview in the Overview tab of the Transcoder Details page.
The video preview displays a frame from the live stream every five seconds. The start date and time appear under the preview. Source stream, transcoder, and delivery metrics begin to update.
- Go to the YouTube Live Control Room page for your event. If YouTube is successfully receiving the stream, a preview of the stream is automatically displayed on the page. Click Go Live to start your broadcast.
- When your event ends, stop the video source, stop the live stream in Wowza Video, and stop the event on YouTube.

More resources
- Include closed captions in a live stream or transcoder in Wowza Video — If you want to include closed captions in your live stream, you'll need to update the live stream's transcoder.
- Encoding best practices for Wowza Video


