Browsers can't start playing HLS streams until they receive a certain amount of packetized video. That means the Wowza Video™ service must receive source video, transcode it, and deliver this content across networks around the world before your viewers can start watching your broadcast. Depending on where your viewers are located, their local WiFi or cellular bandwidth, and other factors, it can sometimes take a few minutes from the time you start your event for HLS streams to start playing for viewers. For some applications—such as sporting events or events that are simultaneously being streamed and broadcast on TV—that amount of latency may be unacceptable.
To reduce the latency inherent in broadcasting HLS streams, Wowza Video allows you to send shorter file segments, or smaller packets, to HLS stream targets. Although delivering shorter audio and video file segments can reduce latency, shorter file segments also create additional network overhead for the client. If the client doesn't have enough bandwidth, playback may stall, which results in a poor viewing experience. For this reason, the capability to reduce HLS segment duration is disabled by default, and segment duration should be reduced only if your viewers experience unacceptably long latency.
You'll need to choose which workflow you'll use, live stream or transcoder, before you begin this task. See Decide between a live stream or transcoder workflow for more information about these workflows.
To learn about other live stream or transcoder settings you might see in the user interface, see Live Stream Setup page in Wowza Video or Transcoder Setup page in Wowza Video.
Live Stream Workflow
1. Create a reduced-latency live stream
Reducing the latency of your live stream is an advanced configuration and you'll need to update your live stream's stream target to complete this task.
- After creating your live stream, click Transcoders on the left-hand side of Wowza Video, and select the transcoder for the live stream you created. Transcoders created through the live stream workflow appear as [Live stream name] / Transcoder on the Transcoder page.
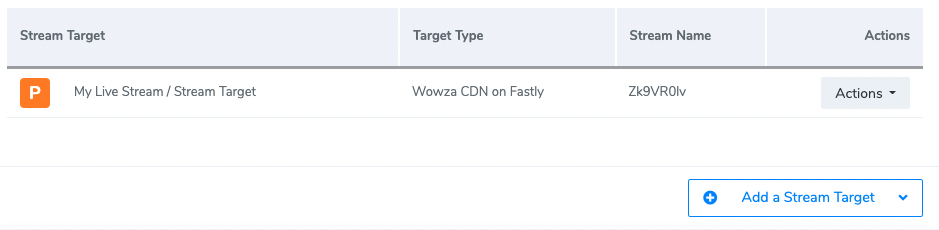
- On the Outputs & Targets tab, click your stream target. The stream target created for your live stream, and used in all your output renditions, appears as [Live stream name] / Stream Target.
- When the page for your stream target opens, navigate to the Properties tab and click Edit.
- Under HLS, select Enabled for HLS segment duration.
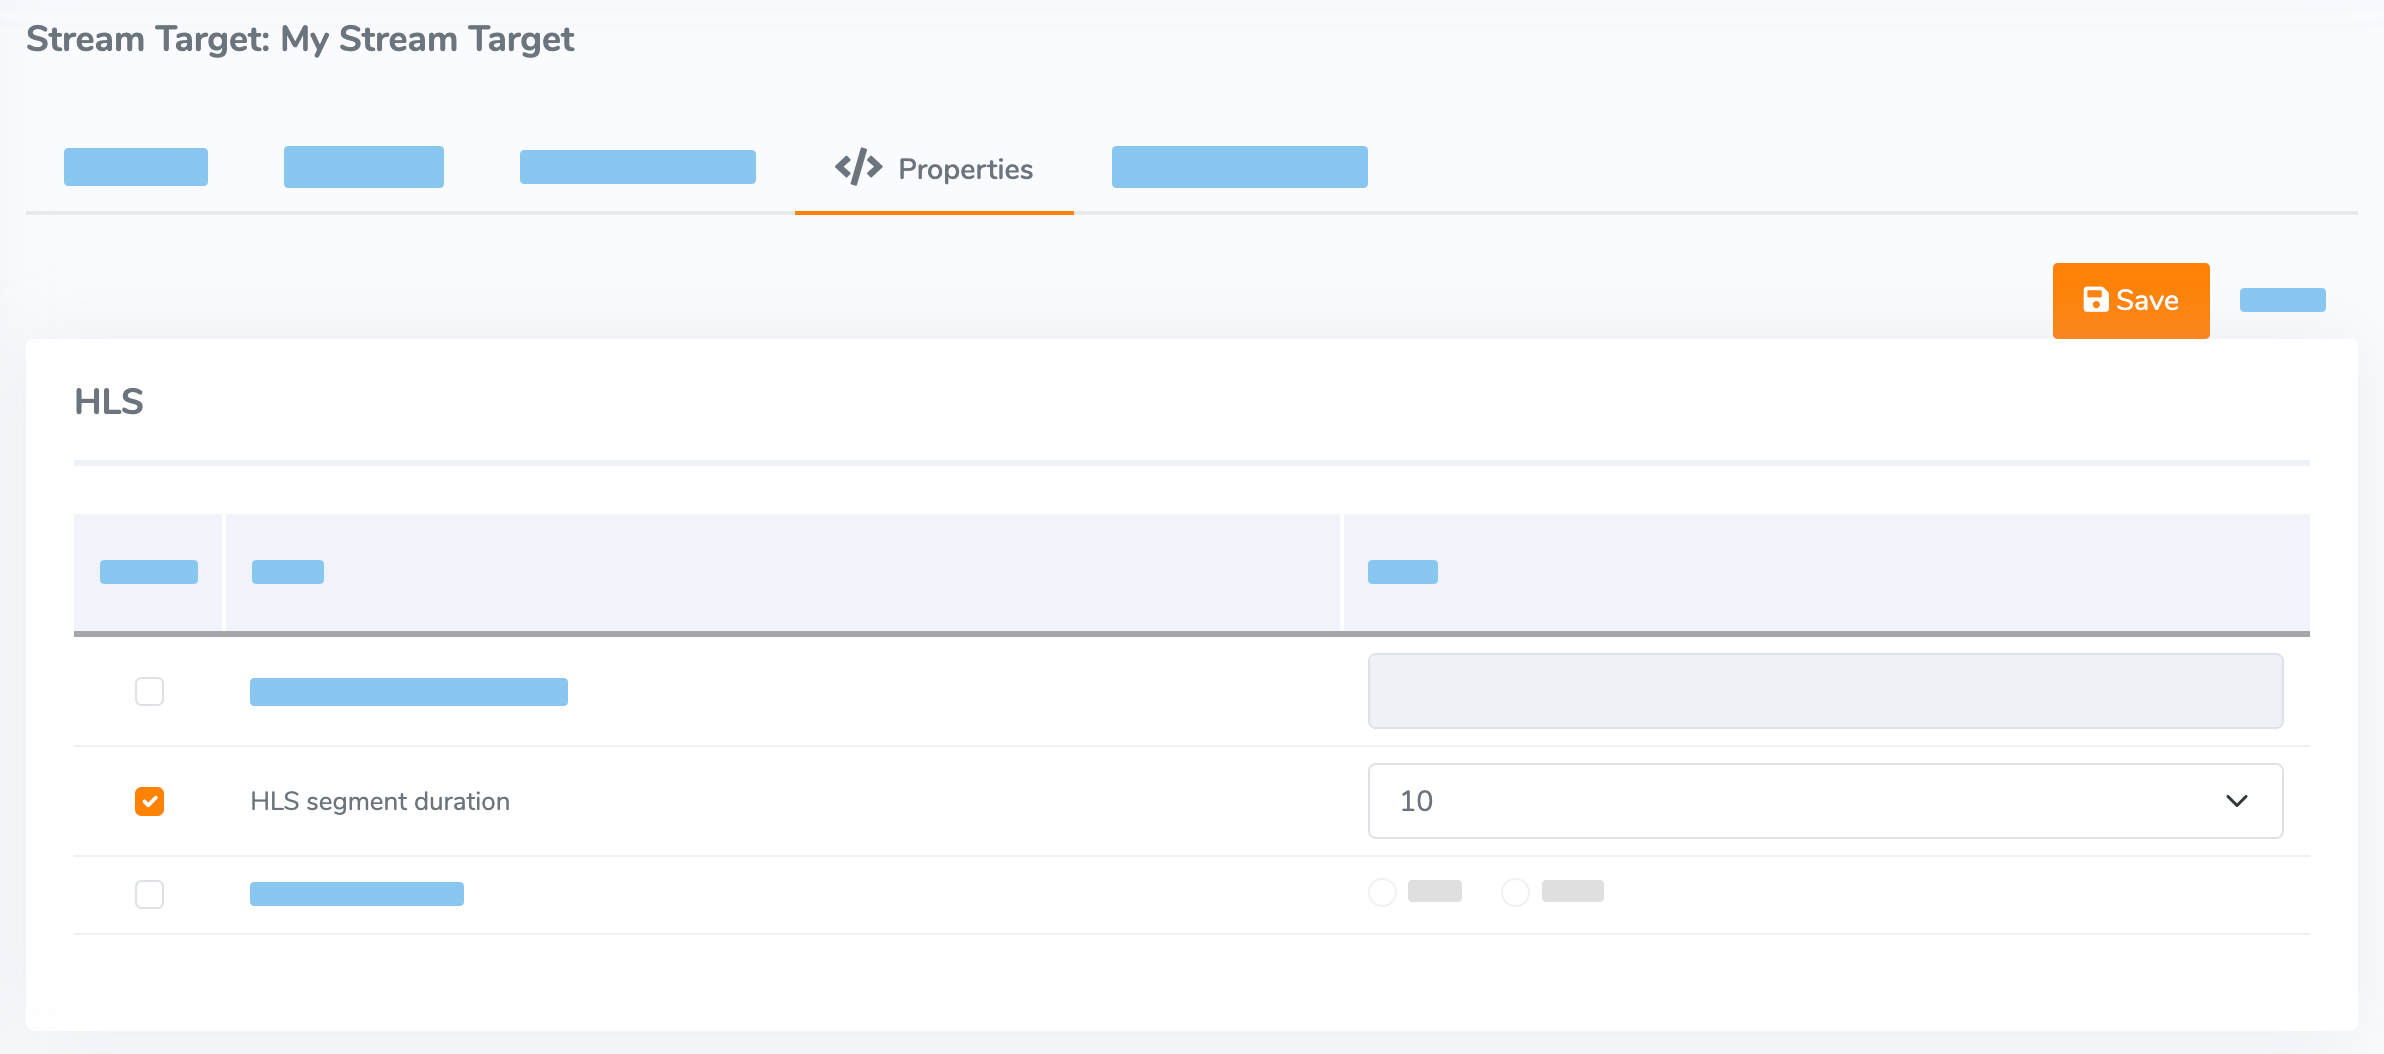
- For Value specify 10, 8, 6, 4, or 2 seconds.
The lower the Value, the lower the latency. See Follow best practices for setting the segment duration for help determining the best Value. - Click Save.

Transcoder Workflow
1. Create a reduced-latency transcoder
Create the transcoder for your event or broadcast: first, add the transcoder and its output renditions, then create the HLS stream target and assign it to the outputs.
1. Add the transcoder and output renditions
- In Wowza Video, click the Advanced menu, click Transcoders, and then click Add Transcoder.
- Complete the Add Transcoder: Transcoder Setup page.
- Click Add.
Wowza Video creates the transcoder and displays the Outputs & Targets tab of the transcoder detail page.
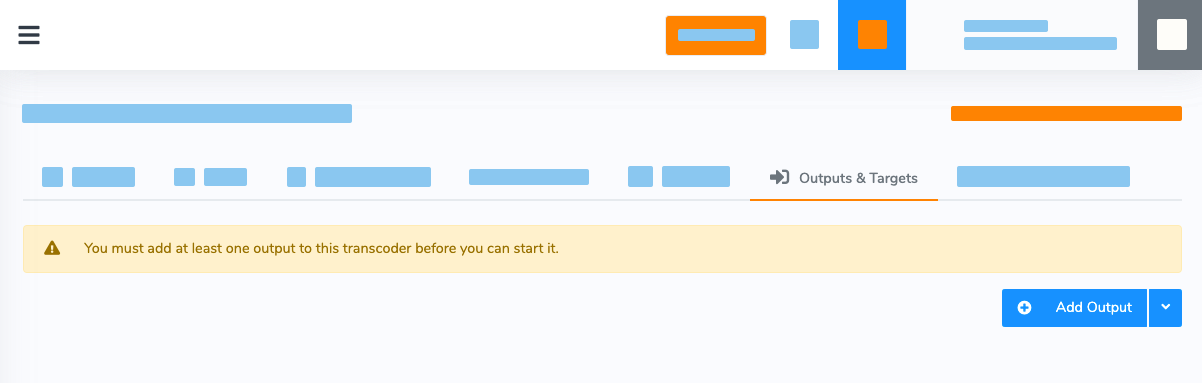
All transcoders need at least one output rendition, so next create one or more output renditions for the transcoder.
- Do one of the following:
- Click the down arrow on the right side of the Add Output button and select a preset output rendition from the list.
- Click the Add Output button to create a custom output rendition. Specify the output settings and then click Save.
Note: For more information on creating custom outputs, see Create a custom transcoder with many outputs and targets in Wowza Video.
- Repeat Step 4 to create up to 10 output renditions for your transcoder. Typically you might create a high-bitrate rendition that matches the source encoder's settings, and then create additional, lower-quality output renditions.
2. Create the HLS stream target
Now you will create a Fastly HLS stream target for the transcoder:
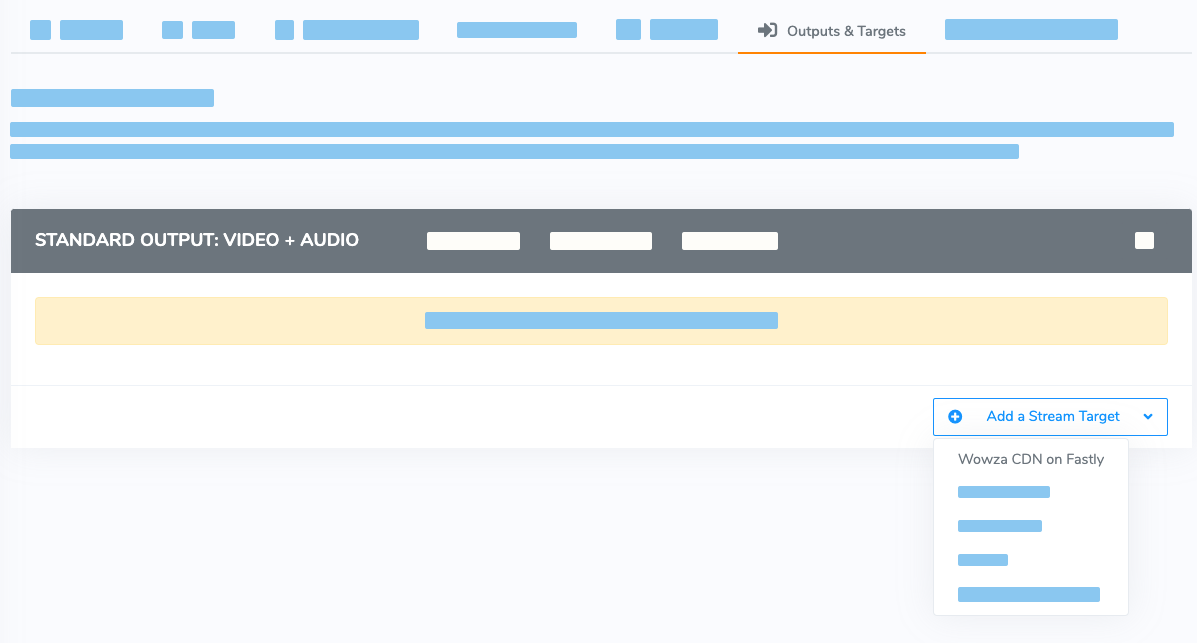
- A Wowza CDN on Fastly target
- For the transcoder's highest bitrate output rendition, click Add a Stream Target and select Wowza CDN on Fastly.
- Specify the Target Name. The Target Name is required but doesn't have to be unique, and it can't be longer than 255 characters.
- Click Save.
Wowza Video generates a target and returns to the Outputs & Targets tab of the transcoder detail page.
The segment duration of the HLS chunks is configured by editing the target's properties.
- Click the Stream Target name, and then click the Properties tab.
- Click Edit.
- Under HLS, select Enabled for HLS segment duration.

- For Value specify 10, 8, 6, 4, or 2 seconds.
The lower the Value, the lower the latency. See Follow best practices for setting the segment duration for help determining the best Value.
- Click Save.
3. Assign the stream target to the output renditions
Now that you've created the HLS target for one output rendition, assign it to the other outputs.
- Return to the transcoder's detail page: Click the Setup tab of the stream target detail page, and then click the name of the transcoder under Transcoders Using This Target.
- Click the Outputs & Targets tab.
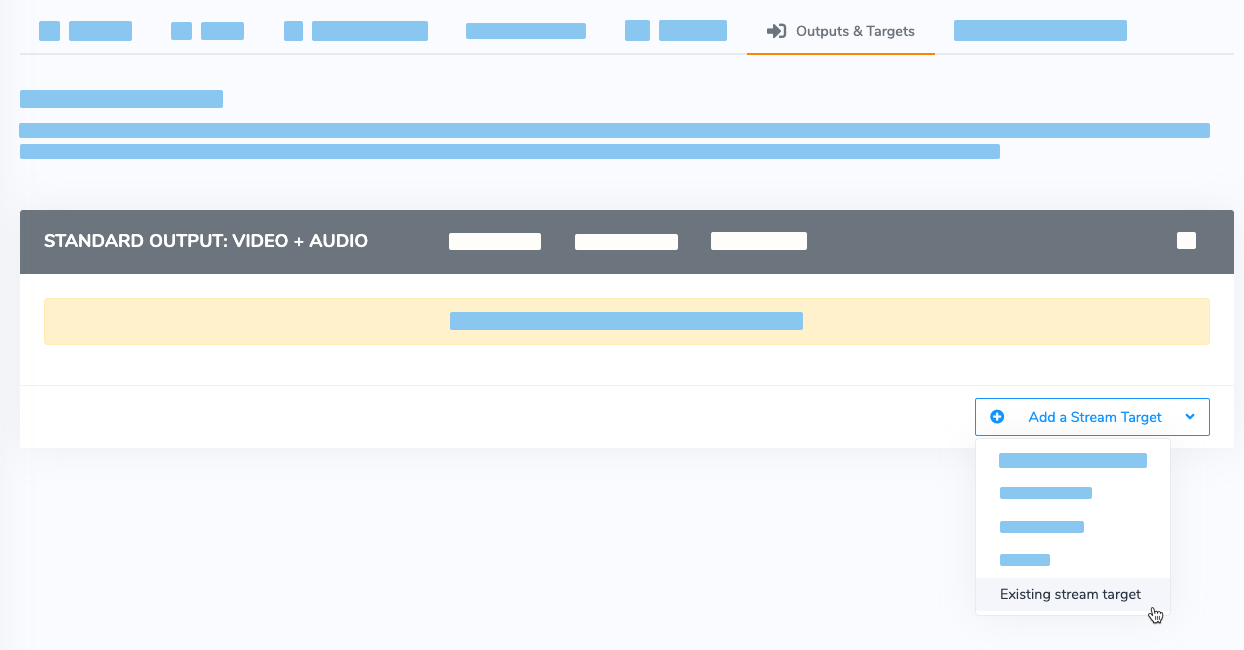
- Click the Add a Stream Target button for the second output rendition on the page.
- Choose Existing stream target.
- Select your Wowza CDN on Fastly stream target from the list, and then click OK.
- Repeat Steps 3 through 5 for the transcoder's other output renditions until the HLS target is assigned to each one.
2. Test your setup
When your transcoder or live stream is complete, configure your source encoder or camera and test the entire setup.
- Click Start Transcoder or Start Live Stream at the top of the transcoder or live stream detail page.
- Click Start to confirm that you want to start the transcoder or live stream.
Wowza Video starts the transcoder or live stream and connects with the source.
- Start your video source.
Wowza Video receives the stream from the source, starts transcoding, creates output renditions for the stream, and sends each output rendition to the HLS target assigned to it.
- In the Wowza Video web manager, confirm that the live stream is playing by looking at the Video Preview in the Overview tab of the Live Stream Details or Transcoder Details page.
The video preview displays a frame from the live stream every 5 seconds. The started date and time appear under the preview. Source stream, transcoder, and delivery metrics begin to update.


- Check playback at your target by viewing the stream at the HLS playback URL.
You can find the playback URL on the Playback URLs tab of the stream target's detail page: Click the Advanced menu, choose Stream Targets, and then select the HLS target.
- Click Stop Transcoder or Stop Live Stream at the top of the transcoder or live stream detail page to end your test stream, and then stop the video source.
Edit an existing HLS stream target's segments
- Click Advanced on the menu bar, click Stream Targets, and then select the stream target.
- On the Properties tab of the stream target's detail page, click Edit to change the HLS segment duration.
Follow best practices for setting the segment duration
- Keep the segment duration as long as possible to minimize the effect on your viewers' playback experience. Use the following table to help you determine the effect of the segment duration on stream quality.
Segment Duration Impact on Latency 10 seconds Default. Provides the lowest incidence of rebuffering, resulting in the smoothest playback experience for viewers. Also provides the greatest amount of latency, particularly the delay between the start of the stream and the start of playback. 8 seconds Offers slightly improved latency while maintaining a smooth playback experience for viewers. 6 seconds Provides a viewing experience that's closer to real-time but still favors quality of playback over reduced latency. 4 seconds Stream quality begins to degrade in order to emphasize on low delay from live. 2 seconds Offers the least amount of latency—as low as 10 seconds—as well as the greatest potential disruption to playback quality. - Reduce the segment size by increments of 2 seconds, testing each size before reducing further. For example, first set the duration to 8 seconds and then test the stream. Check to see if latency has improved and if the playback experience is still acceptable. If not, try 6 seconds and repeat the test.
- If you create two different targets and assign each one a different segment duration, both are automatically assigned the newer value. If you want the older target to have the original duration, you'll need to edit it and reassign that value.
- Reducing segment duration may compromise playback on devices running older versions of iOS. Test your new configuration on multiple devices and iOS versions if you're concerned about backward compatibility for your stream playback.
- File segments must start on a keyframe, so in your encoder, make sure to use a keyframe interval that's a factor of the segment duration. For example, if HLS segment duration is 10 seconds, use a keyframe interval of 2, 2.5, 5, or 10 seconds. If your segment duration is 6 seconds, use a keyframe interval of 2, 3, or 6 seconds.
For more information on encoding source video, including specifying keyframe intervals, see the article Encoding best practices for Wowza Video.
Edit a reduced-latency live stream's buffer settings
A reduced-latency live stream uses modified buffer settings. The buffer settings can be changed only in the live stream's transcoder setup.
- Click Advanced on the menu bar, click Transcoders, and then select the reduced-latency live stream's transcoder. It appears as [Live stream name] / Transcoder.
- Click the Transcoder Setup tab of the transcoder detail page, and then click Edit.
- Do either or both of the following:
- Specify a value of between 1 and 8 seconds for Buffer Size.
The incoming buffer stores packets before they are processed, enabling more efficient transcoding. An optimum Buffer Size reduces stream jittering and helps ensure successful transmuxing, which is the process of converting to a different container format without changing the stream's content.
- Deselect Turn off sort packet buffer.
Turning off the sort packet buffer speeds the time it takes to decode and deliver video data to players. If desired, deselect Turn off sort packet buffer to enable the sort packet buffer.


