Learn how to use the Wowza Video™ service to deliver WebRTC streams to viewers.
Wowza Video provides direct playback URLs for RTMP, RTSP, WebRTC, and WOWZ that you can use to deliver live streams to viewers or other video services directly from the transcoder. Egress costs for direct playback are typically greater than the costs associated with delivering streams to viewers through a CDN. For more information about cost, audience size, and other workflow considerations, see WebRTC workflows in Wowza Video.
WebRTC lets you capture video from your browser without installing plug-ins or downloading third-party software. To deliver a WebRTC stream to viewers for direct playback, create a live stream, publish the stream using the WebRTC hosted publish page, and then provide the WebRTC hosted playback page URL to your viewers.
You can also consider using the Wowza Flowplayer Real-Time Streaming plugin for playback if you need to embed and configure the player on your own page. Wowza Flowplayer is included as part of your Wowza Video subscription.
To learn about other live stream or transcoder settings you might see in the user interface, see Live Stream Setup page in Wowza Video or Transcoder Setup page in Wowza Video.
You'll need to choose which workflow you'll use, live stream or transcoder, before you begin this task. See Decide between a live stream or transcoder workflow for more information about these workflows.
Live stream workflow
1. Create a live stream
In the live stream workflow, we'll automatically configure the transcoder, output renditions, and stream targets to get you started quickly. This is the preferred workflow for most of our customers.
- Sign in to Wowza Video.
- Click Add Live Stream.
- On the Live Stream Setup page, enter a Live Stream Name, choose a Broadcast Location, and then click Next.
- On the Video Source and Transcoder Settings page, select Web Browser (WebRTC) as the video source you want to use to connect to Wowza Video.
- For Live Stream Type, use the default setting, Adaptive bitrate (Recommended). Alternatively, select Passthrough to send the source video directly to the hosted page or other target without performing transcoding.
- Specify the other video source settings. Then click Next.
Note: For WebRTC, we recommend keeping the default Input Resolution of 1280x720.
- Complete the steps to finish creating the live stream.
Wowza Video creates the live stream and displays the Overview tab of the live stream detail page.
2. (Optional) Decrease latency
The default buffer size for a live stream is 4 seconds. To decrease the latency of the stream and get closer to real-time, you can change the buffer to 0.
- Under Advanced on the left navigation bar, select Transcoders.
- Select the transcoder for the live stream, which appears as [Live stream name] / Transcoder.
- On the Transcoder Setup tab, click Edit.
- Change Buffer Size to 0 seconds, click Save, and then return to the Overview tab of the live stream detail page.
3. (Optional) Change viewer limit
The default viewer limit is 10 for direct playback URLs, but most transcoders can support up to 300 viewers for WebRTC playback.
- Under Advanced on the left navigation bar, select Transcoders.
- Select the transcoder for the live stream, which appears as [Live stream name] / Transcoder.
- On the Direct Playback URLs tab, click Edit.
- Change the value for Current maximum viewers.
4. Publish the WebRTC stream
Next, start the live stream in Wowza Video, and then use the WebRTC hosted publish page to begin broadcasting to your viewers.
- In Wowza Video, start the live stream by doing one of the following:
- Click Start Live Stream at the top of the live stream detail page.
- Click Start your live stream now in the Video Thumbnail on the Overview tab.
- On the Overview tab, under WebRTC Publish Page, click the publish page link.
Note: The WebRTC hosted publish page is supported on the latest versions of Chrome and Safari, as well as Edge version 79 and later.
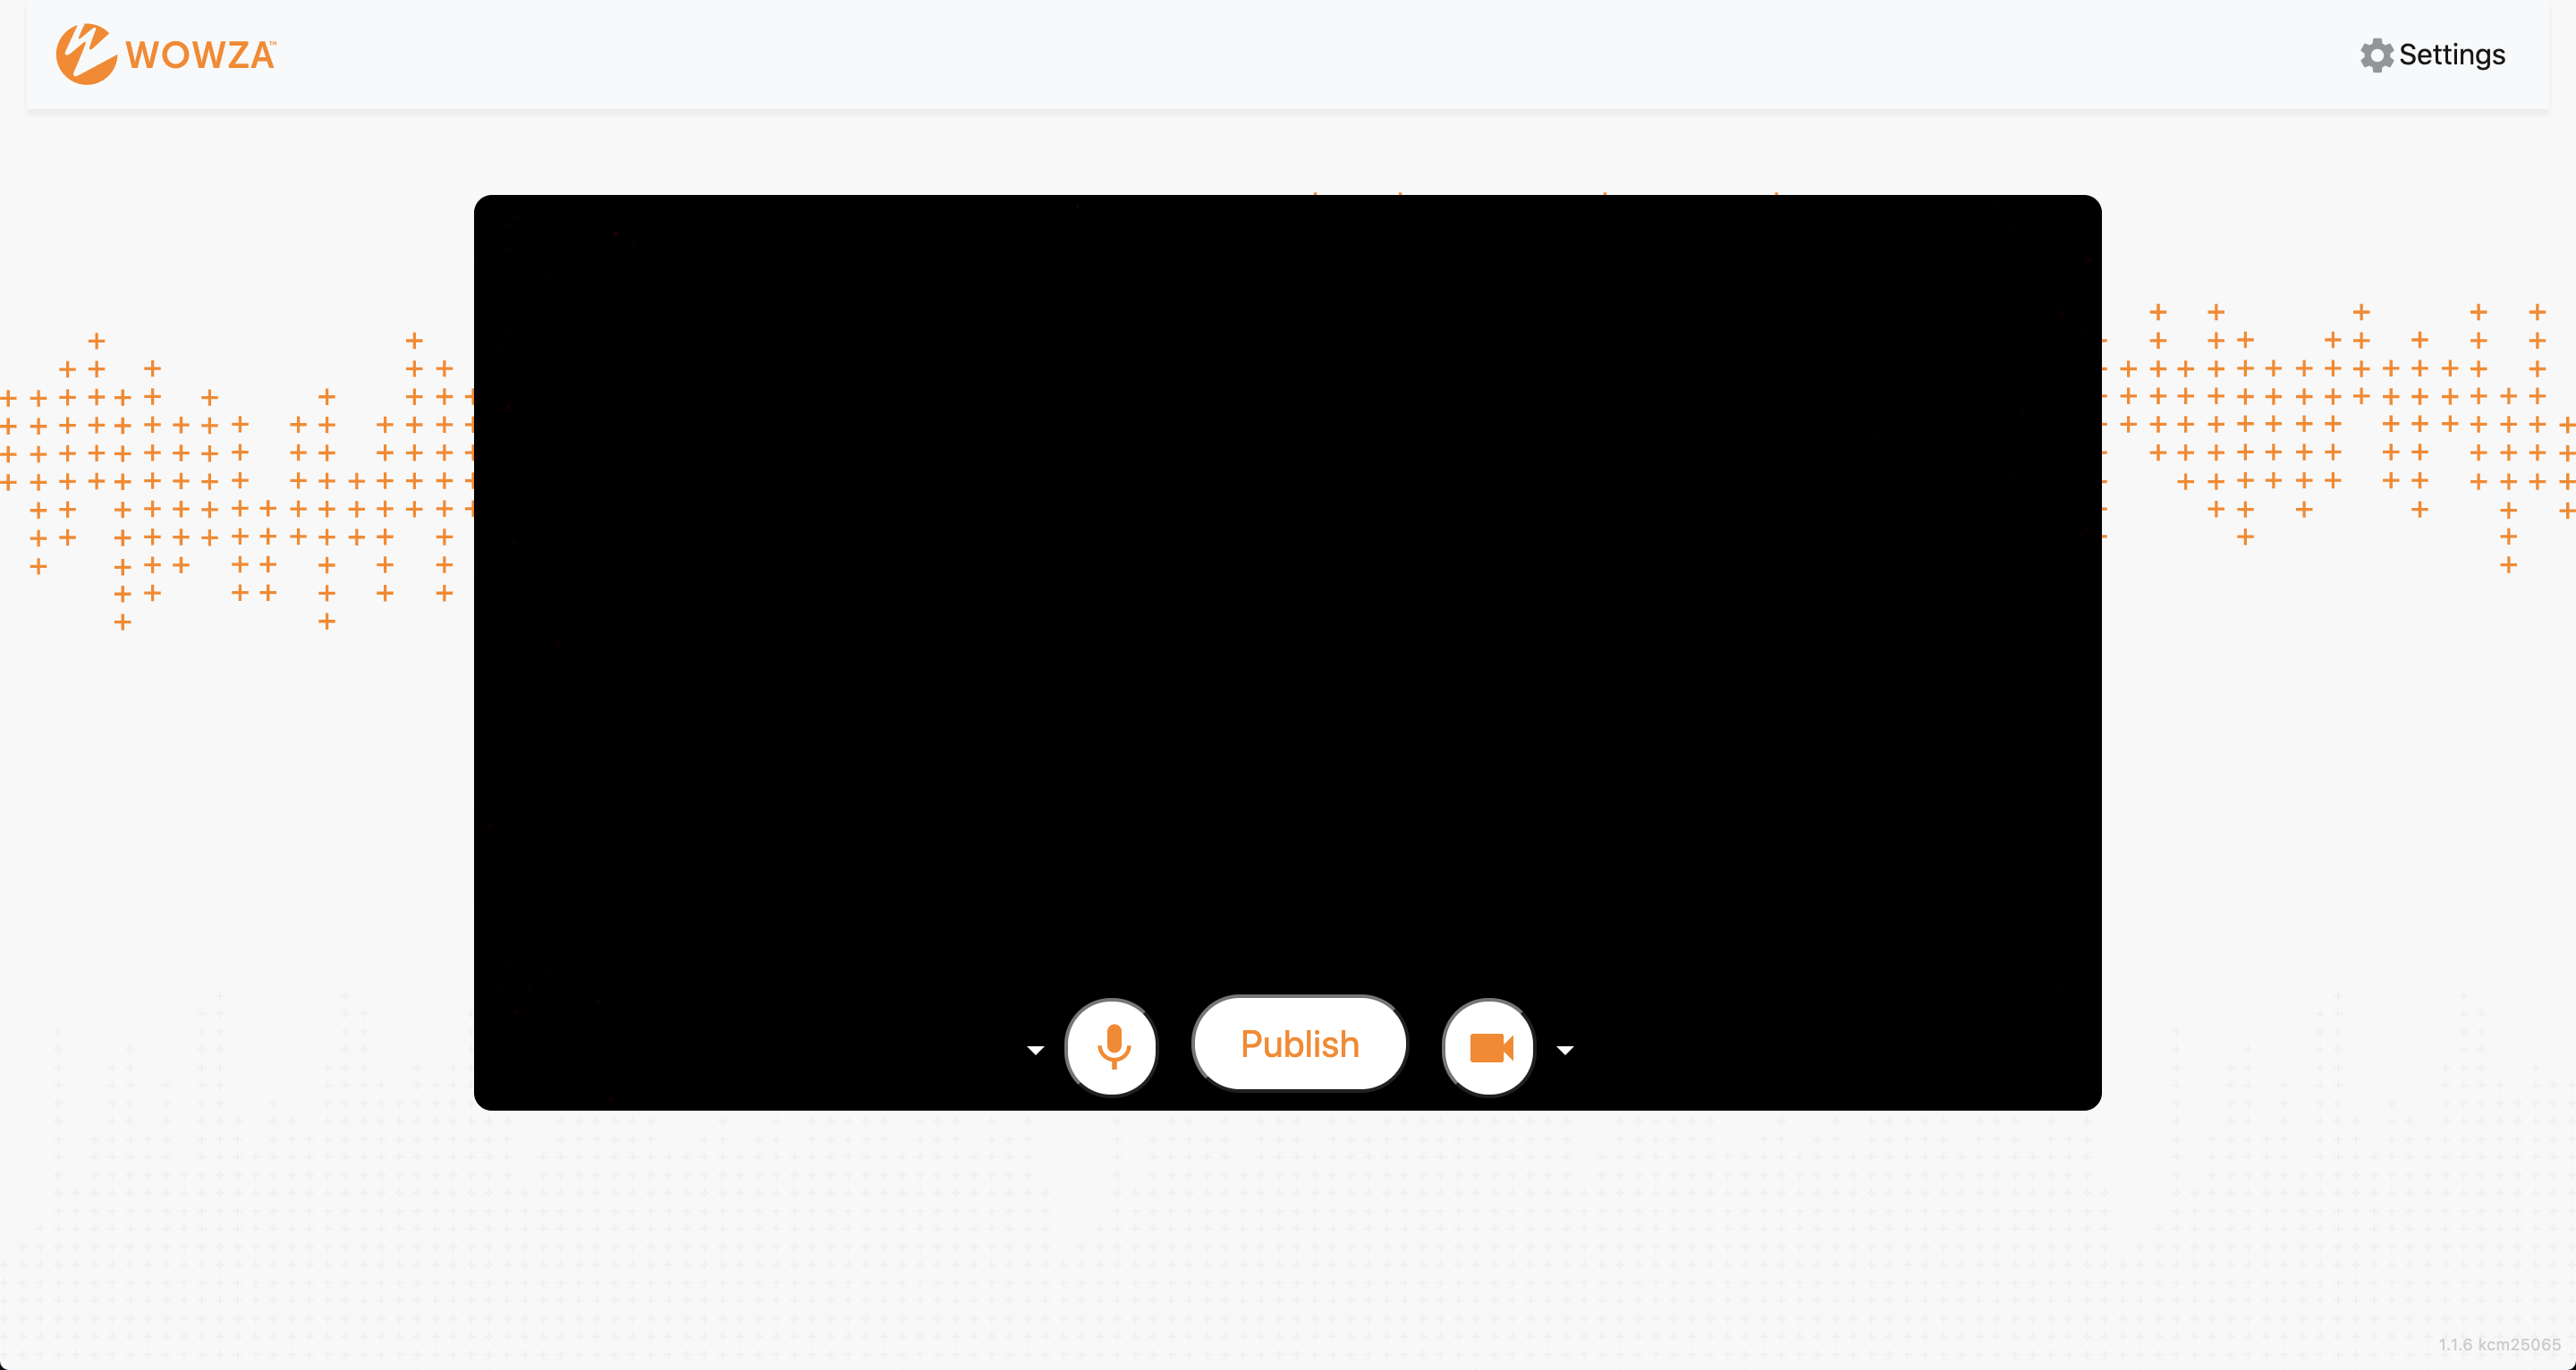
The WebRTC publish page opens in a new tab. Grant access to your camera and microphone when prompted.
- Settings – Wowza Video automatically configures the settings for the live stream. To view or edit the settings, click the Settings button.
- Microphone – Mute/unmute your microphone. To change which microphone to use, click the arrow next to the microphone icon.
- Video camera – Enable/disable the video source. To change the video source, click the arrow next to the video camera icon. To share your screen, select Screen Share.
Notes:
- The video source can’t be changed after the broadcast is started.
- Screen share functionality isn't supported on mobile devices or Safari.
- Click Publish.
5. Play the WebRTC stream
You can give the WebRTC playback page URL to your viewers so they can watch the live stream. This page can also be used for testing purposes. To test the connection using the WebRTC hosted playback page, do the following:
- On the Overview tab, under WebRTC Playback Page, click the playback page link.
Note: The WebRTC hosted playback page is supported on the latest versions of Chrome and Safari, as well as Edge version 79 and later.
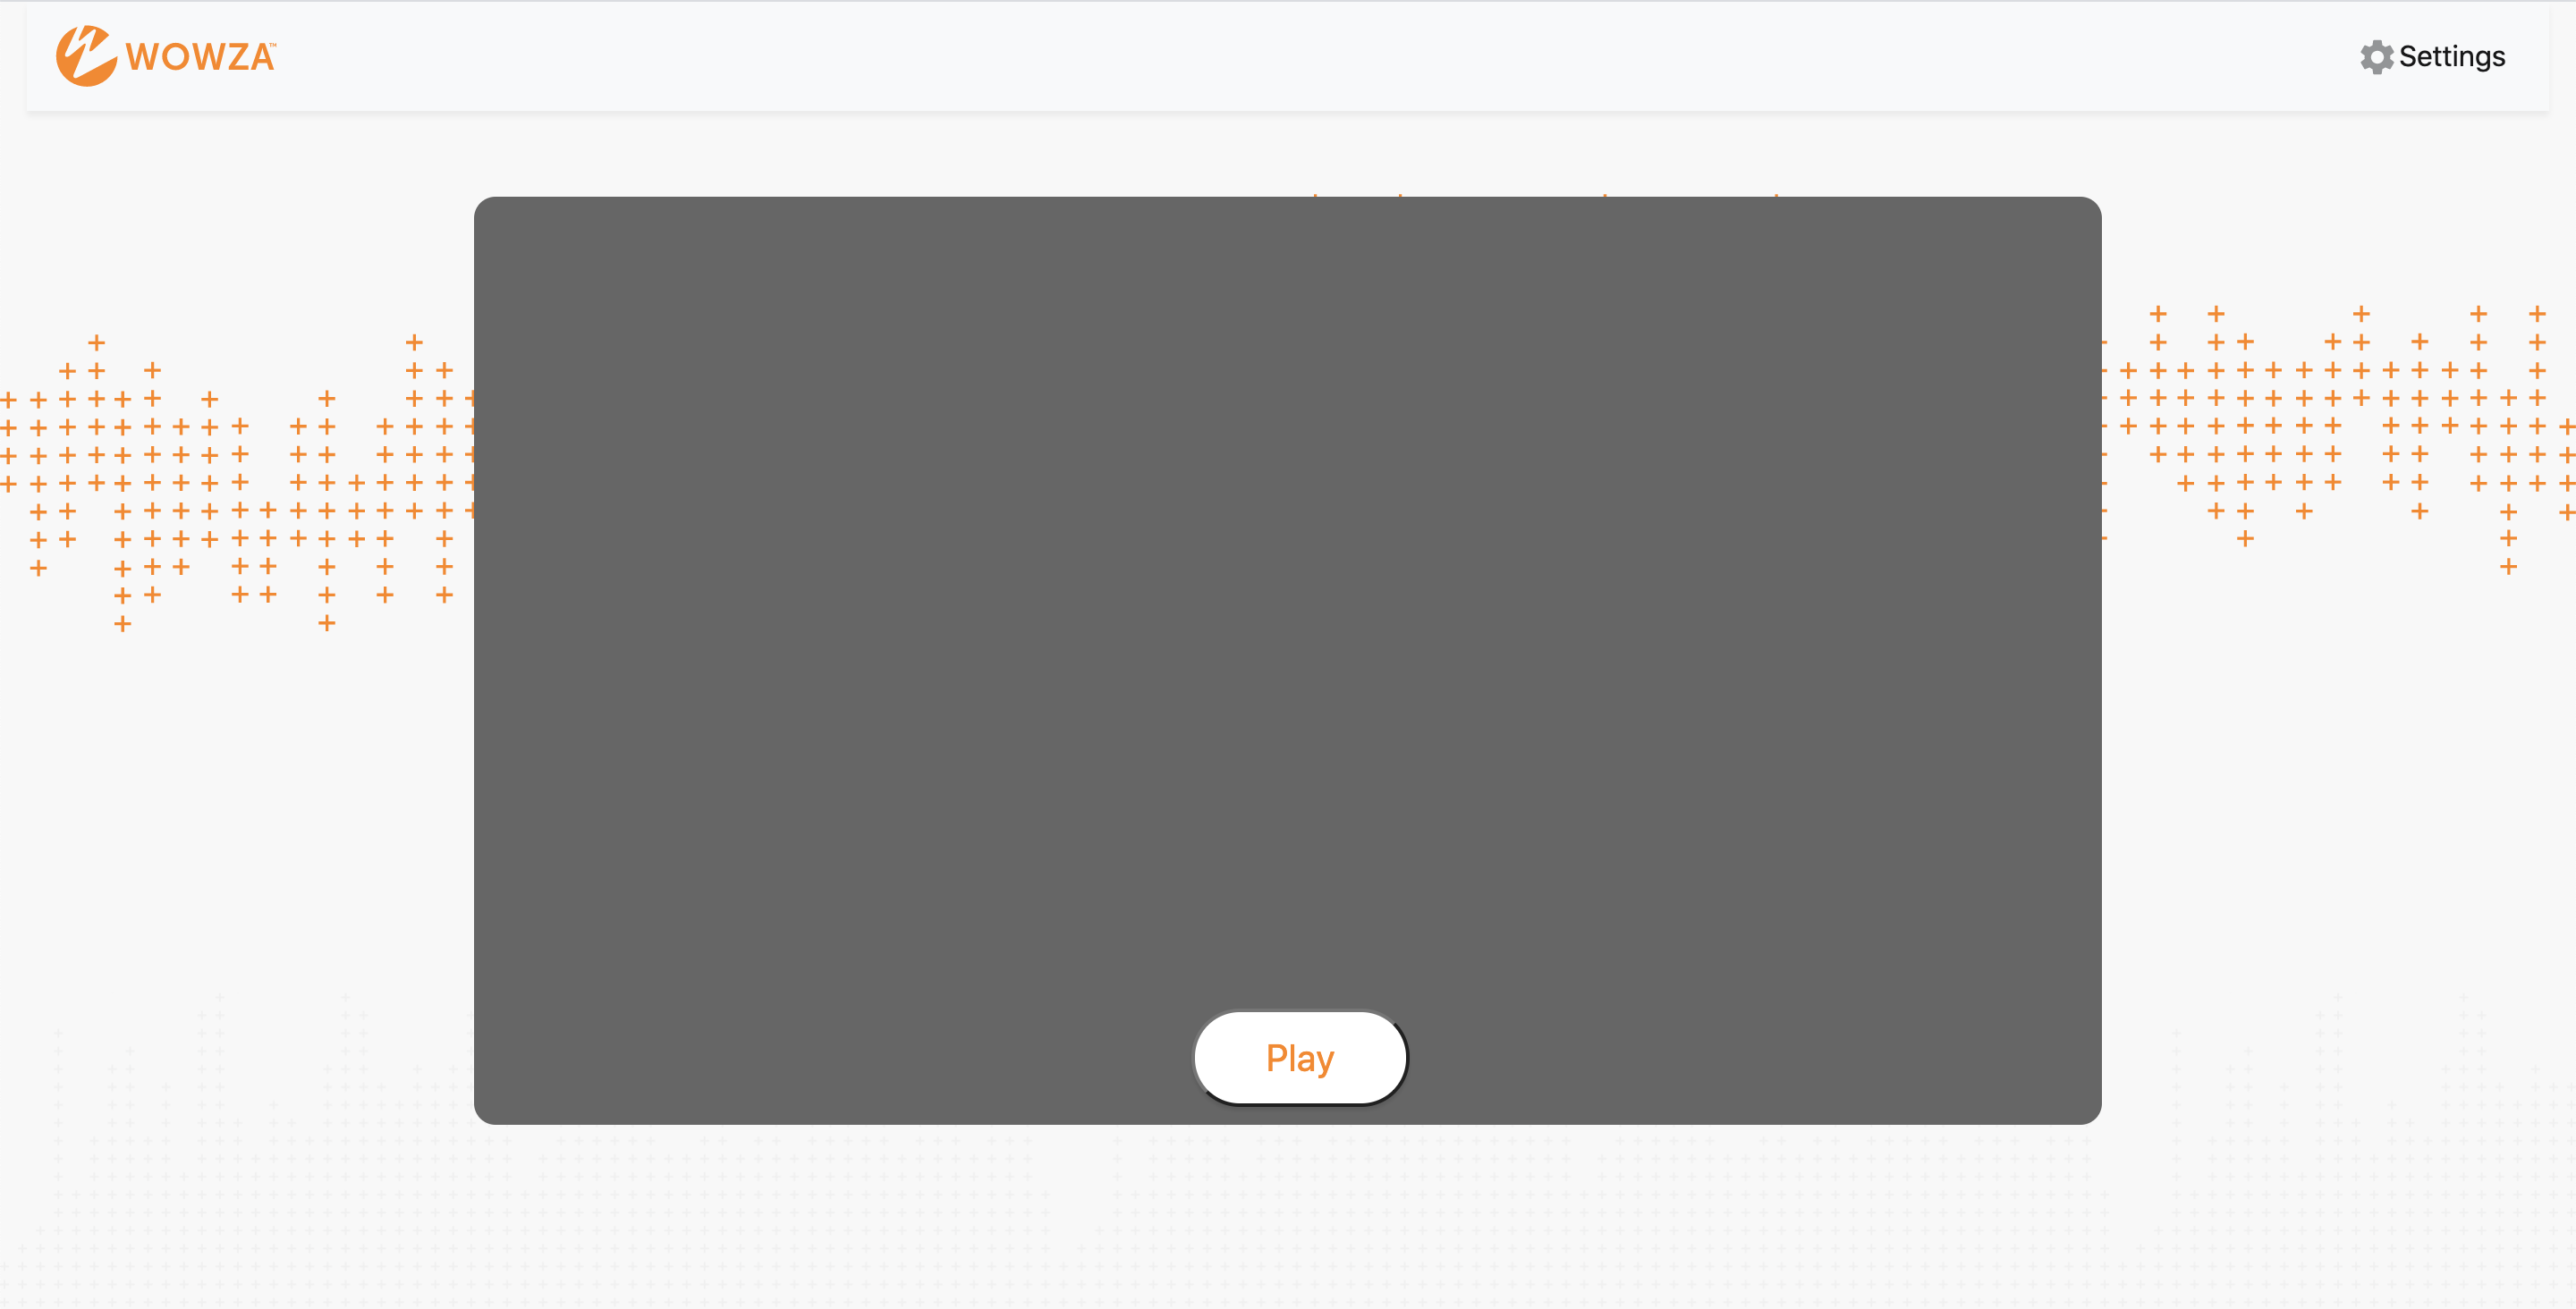
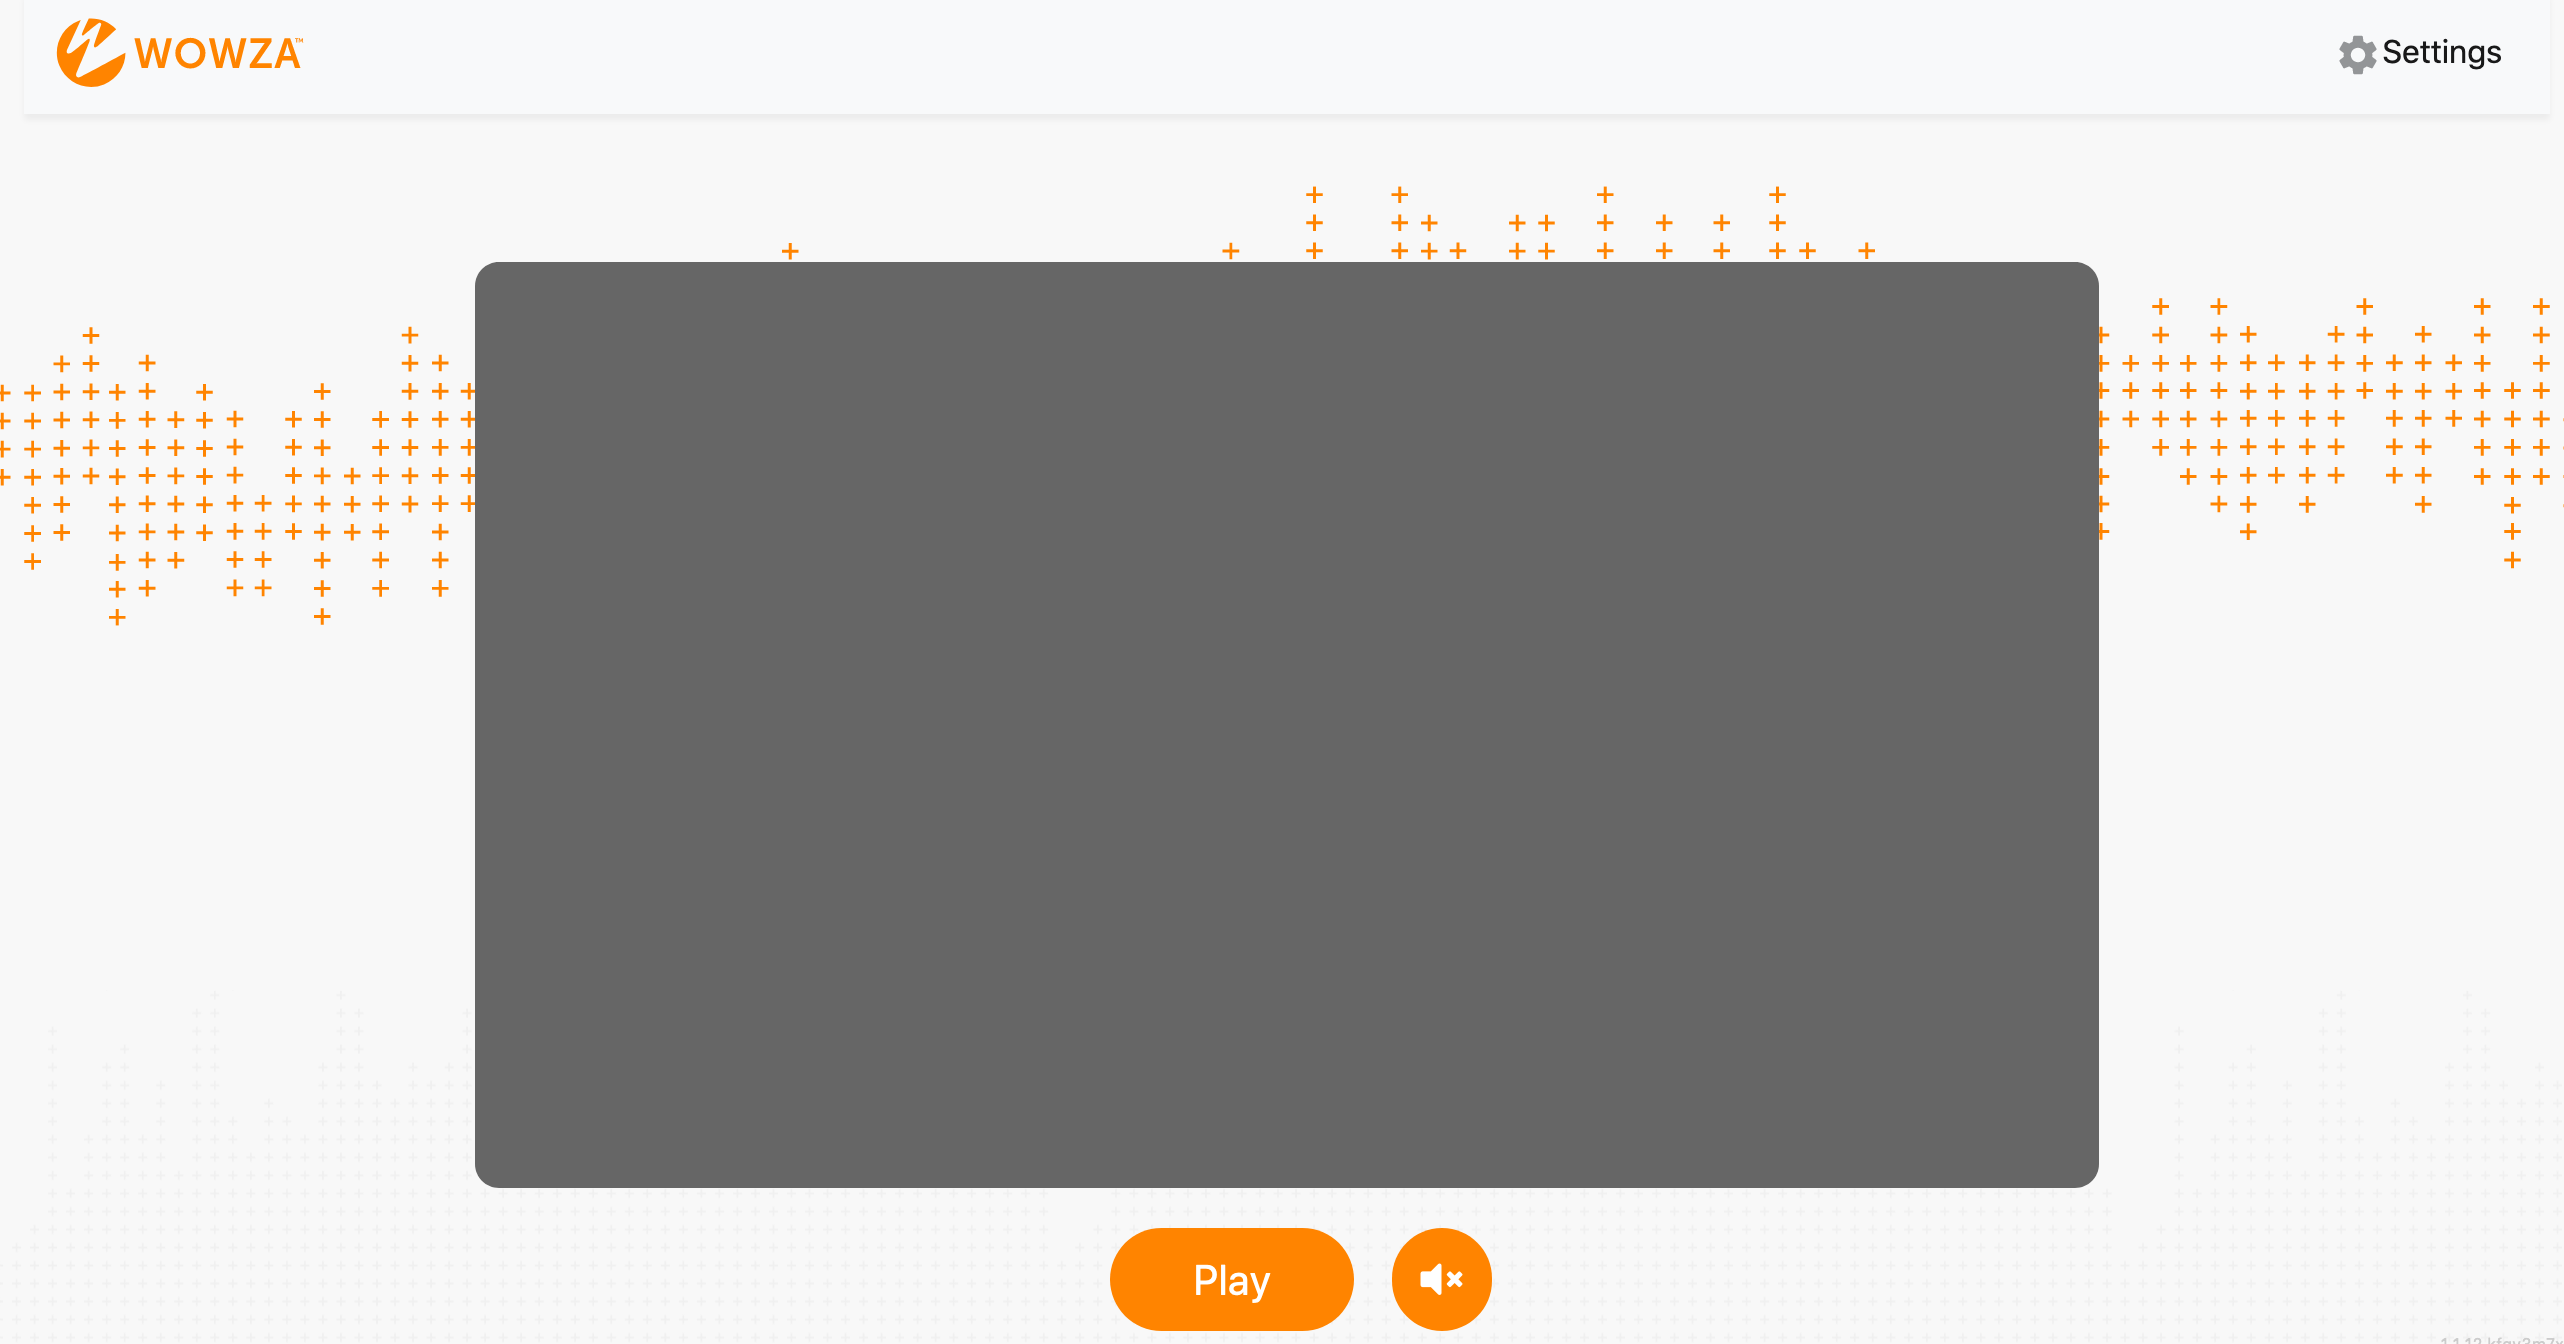
The playback page opens in a new tab. Wowza Video automatically configures the settings for the live stream. To view or edit the settings, click the Settings button.
- Click Play.
6. Stop the WebRTC stream
To avoid incurring additional billing charges, remember to stop the live stream after the stream broadcast is over. In Wowza Video, click Stop Live Stream at the top of the live stream details page.
Transcoder workflow
1. Create a transcoder
In the transcoder workflow, you'll manually configure the transcoder, output renditions, and stream targets to fit your specific streaming solution.
- Sign in to Wowza Video.
- Under Advanced on the left navigation bar, click Transcoders, and then click Add Transcoder.
- On the Transcoder Setup page, enter a descriptive Transcoder Name.
- For Transcoder Type, use the default setting, Adaptive bitrate (Recommended).
Although we recommend that you use an adaptive bitrate transcoder when performing direct playback of a WebRTC stream for maximum viewer connections and a larger feature set, the transcoder workflow allows you to select Passthrough. The transcoder type affects how many viewers can connect to your stream directly through the transcoder:- Adaptive bitrate results in a larger transcoder that can handle more viewer connections.
- Passthrough results in a smaller transcoder which can result in lower overall costs, but also means fewer viewer connections and other limitations. If you choose passthrough, make sure you do sufficient testing to ensure your streaming goals are met.
- For Broadcast Location, select the region that's closest to where your stream will originate.
- For Closed Captions, use the default setting, None.
- For Source Protocol, select WebRTC.
- (Optional) The default buffer size for a live stream is 4 seconds. To decrease the latency of the stream and get closer to real-time, change Buffer Size to 0.
- Configure the remaining transcoder settings, and then click Add.
Wowza Video creates the transcoder and displays the Outputs & Targets tab of the transcoder details page. - Add an output. For more information, see Create a custom transcoder with many outputs and targets in Wowza Video.
You can change the maximum viewer limit from the default of 10 on the Direct Playback URLs tab.
2. Publish the WebRTC stream
Next, start the transcoder in Wowza Video, and then use the WebRTC hosted publish page to begin broadcasting to your viewers.
- In Wowza Video, start the transcoder by doing one of the following:
- Click Start Transcoder at the top of the transcoder details page.
- Click Start your transcoder now in the Video Thumbnail on the Overview tab.
- On the Overview tab, under WebRTC, click the Publish Page link.
Note: The WebRTC hosted publish page is supported on the latest versions of Chrome and Safari, as well as Edge version 79 and later.
The WebRTC publish page opens in a new tab. Grant access to your camera and microphone when prompted.
- Settings – Wowza Video automatically configures the settings for the live stream. To view or edit the settings, click the Settings button.
- Microphone – Mute/unmute your microphone. To change which microphone to use, click the arrow next to the microphone icon.
- Video camera – Enable/disable the video source. To change the video source, click the arrow next to the video camera icon. To share your screen, select Screen Share.
Note:
- The video source can’t be changed after the broadcast is started.
- Screen share functionality isn't supported on mobile devices or Safari.
- Click Publish.
3. Play the WebRTC stream
You can give the WebRTC playback page URL to your viewers so they can watch the live stream. This page can also be used for testing purposes. To test the connection using the WebRTC hosted playback page, do the following:
- On the Overview tab, under WebRTC, click the Playback Page link.
Note: The WebRTC hosted playback page is supported on the latest versions of Chrome and Safari, as well as Edge version 79 and later.
The playback page opens in a new tab. Wowza Video automatically configures the settings for the live stream. To view or edit the settings, click the Settings button.
- Click Play.

4. Stop the WebRTC stream
To avoid incurring additional billing charges, remember to stop the transcoder after the stream broadcast is over. In Wowza Video, click Stop Transcoder at the top of the transcoder details page.


