The advanced mode of the Wowza Video™ service allows you to customize transcoding processes to suit all kinds of complex streaming workflows. It's especially useful for transcoding a live stream into multiple output renditions and delivering them to multiple targets, letting you reach a broad, widely distributed audience.
To learn about other transcoder, output rendition, and stream target settings you might see in the user interface, see Transcoder Setup page page in Wowza Video.
About transcoders in Wowza Video
There are three parts to a transcoder:
- The transcoder itself, which receives the source stream, can be adaptive bitrate or passthrough, and offers customized processing and billing options.
- The transcoder's output renditions. An output rendition is a compressed version of the source stream at a lower bitrate and aspect ratio. Every custom transcoder must have at least one output rendition. A passthrough transcoder has only one output rendition but adaptive bitrate transcoders typically have multiple output renditions.
- The output rendition's stream targets. A stream target is a destination for an output rendition. A stream target can be either a Wowza CDN resource or an external RTMP destination. Every output rendition must have at least one target, and it can have multiple targets.
Custom transcoders accommodate all kinds of one-to-many streaming workflows. For example, you can transcode one stream to one output rendition (a passthrough stream), and send that one rendition to multiple targets such as YouTube and Ustream. Or you can transcode one stream to multiple output renditions, each of which goes to the same or different targets. You can even customize the transcoder of a live stream, adding and editing its outputs and targets. This lets you broadcast a live stream to any RTMP stream target, either a Wowza CDN or a third-party destination.
1. Add a transcoder
Start by defining where and how the transcoder receives and processes the video stream.
- Under Advanced on the left navigation bar, click Transcoders, and then click Add Transcoder.
- On the Transcoder Setup page, enter a descriptive Transcoder Name.
Subscription plans that support passthrough streaming require that you specify a Transcoder Type. For all other subscription plans, transcoders are adaptive bitrate.
- If you can choose a Transcoder Type, select Adaptive bitrate to transcode your source video and create multiple output renditions of your stream at different bitrates.
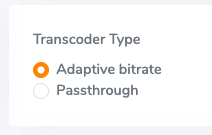
If you choose Passthrough, Wowza Video automatically creates a single output rendition for it, based on the source video's encoding settings and you can attach multiple targets to this rendition. Although you can't create additional, custom outputs for passthrough transcoders, you can edit the passthrough output rendition to disable the video or audio track.
Note: The Transcoder Type can't be changed after the transcoder is created.
- Specify other transcoder setup options.
- Click Add.
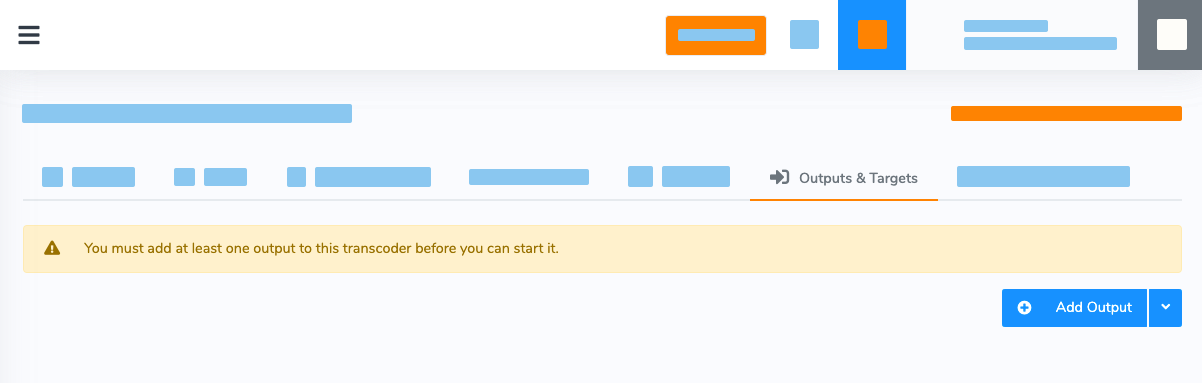
Wowza Video creates the transcoder and displays the Outputs & Targets tab of the transcoder detail page.
2. Create output renditions for a transcoder
Now give the transcoder at least one output rendition. You can't start a transcoder that doesn't have any outputs.
- On the Outputs & Targets tab of the detail page of your adaptive bitrate transcoder, do one of the following:
- Click the down arrow on the right side of the Add Output button and select a preset output rendition from the list.
- Click the Add Output button to create a custom output rendition. On the Add an Output page, specify the details of the rendition and then click Save.
Custom output renditions can include passthrough audio and video. Selecting Passthrough for the Video Codec sends the stream to the target without transcoding the video track and you can't specify Video Bitrate, H.264 Profile, Frame Rate Reduction, Aspect Ratio, or Keyframe Interval. Selecting Passthrough for the Audio Codec sends the stream to the target without transcoding the audio track and you can't specify Audio Bitrate.
- Create up to 10 output renditions for your transcoder. Typically you might create a passthrough output that matches the source encoder's settings. This would be your highest-quality output rendition for the stream. Then create additional, lower-quality output renditions.
Depending on the resolution of the passthrough (or highest) bitrate rendition, you might want to create three to five additional outputs. For each additional output, specify the aspect ratio, bitrate, and profile you want to use. The size difference between bitrate renditions should not exceed a factor of 1.8, and all aspect ratios should be divisible by 8.
3. Create stream targets for an output rendition
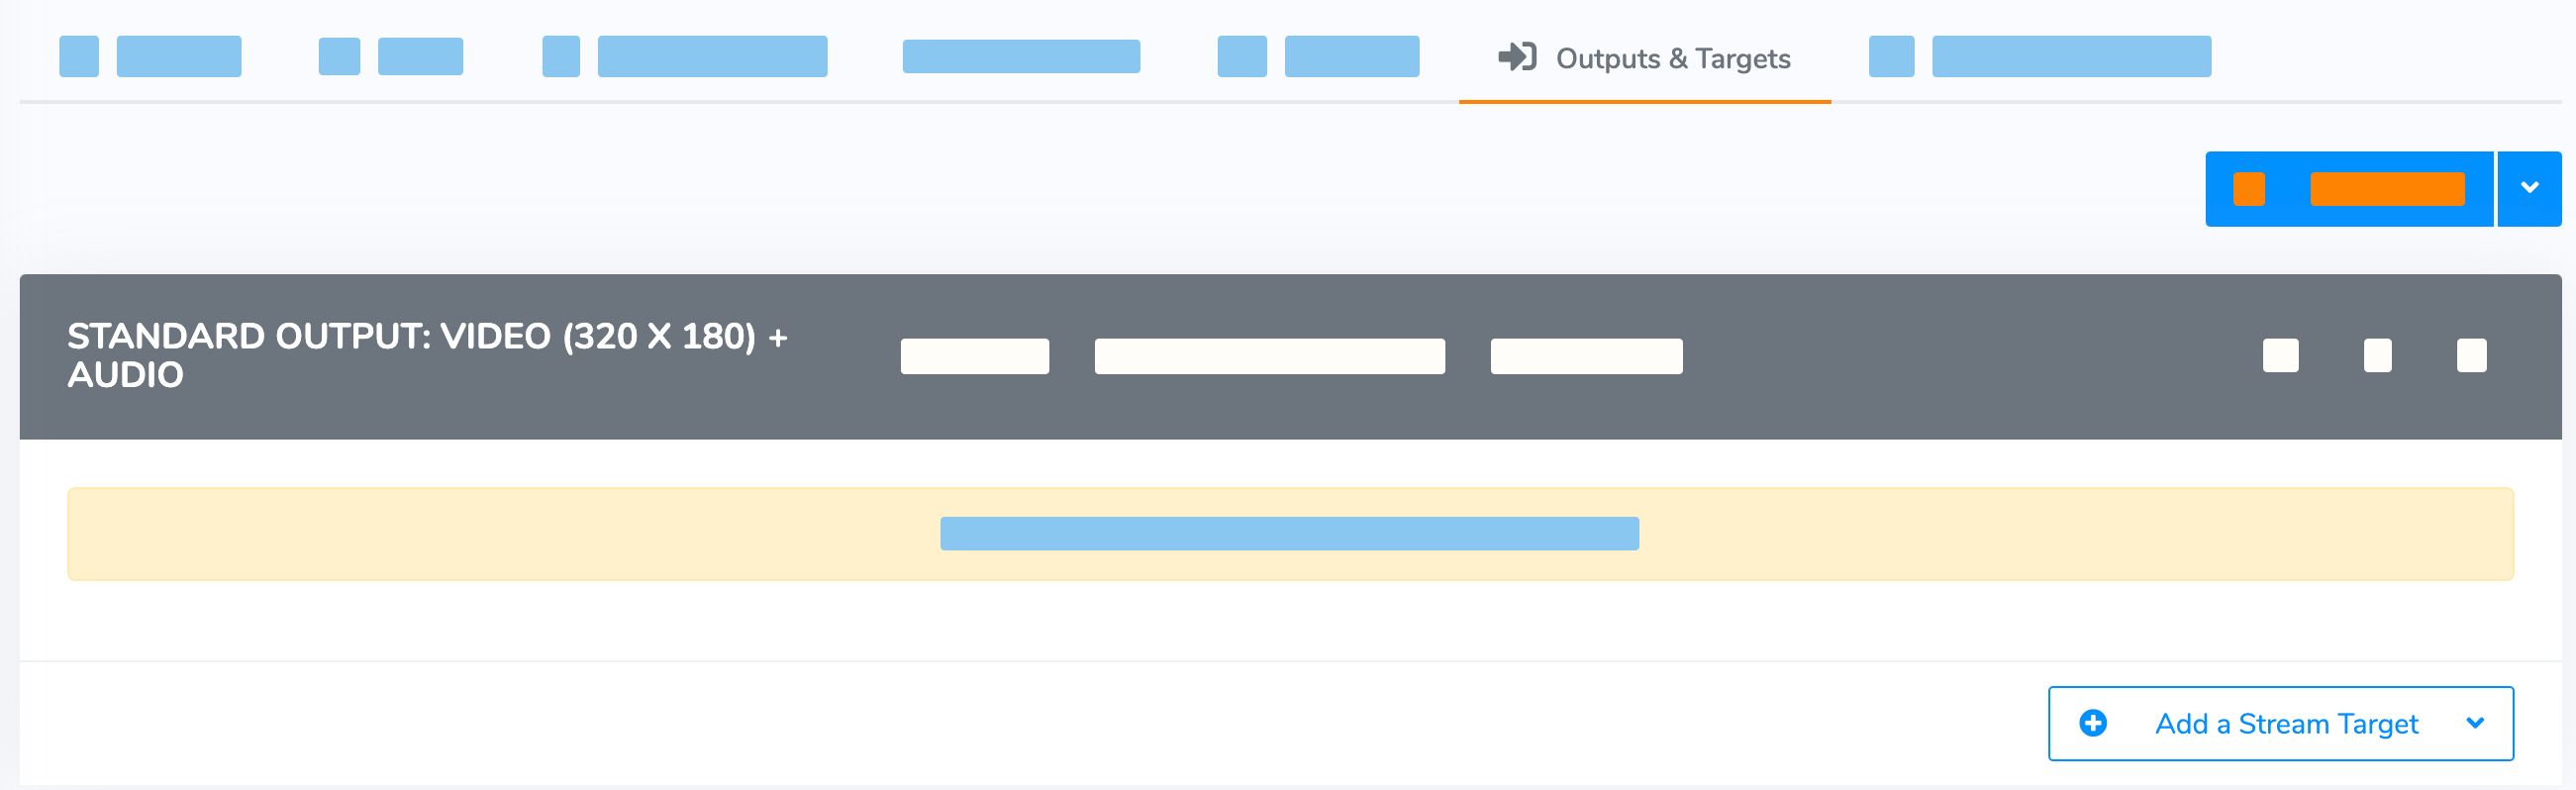
Each output rendition now needs at least one stream target. You can't start a transcoder that doesn't have any stream targets.
Note: As a best practice, each output rendition should have no more than 10 stream targets. Five or fewer is better for the most efficient processing and delivery of your stream.
- On the Outputs & Targets tab of the transcoder detail page, click the Add a Stream Target button for any output rendition.
- Choose the type of stream target you want to create:

- Wowza CDN on Fastly – A target at a Wowza Video location that receives and makes the stream available for playback over HLS. Enter a Target Name and then click Add.
- Custom – A target at an external RTMP destination. Enter the target settings and then click Add.
- Facebook Live – A target that delivers the stream to a Facebook Timeline, Page, group, or event for Facebook Live Video playback. Enter the target settings and then click Add. For information about the options, see Stream to Facebook Live from Wowza Video.
- Existing stream target – Any previously created stream target, either a Wowza CDN or custom target. Uses the existing target as is; you can't edit it. Select a stream target from the list, select the option to use the backup URL if desired, and then click Assign Stream Target.
- Repeat Steps 1 and 2 for the other output renditions for the transcoder, until each output has at least one stream target.
4. Configure your video source
The Overview tab of the Transcoder Details page shows information you'll need to connect your source in the Source panel. You'll need to refer to documentation for your specific encoder to determine where to input the source information, which includes the stream and user credentials for authentication.
If you were configuring OBS as the encoder, you'd enter the following source information into OBS:
- URL is formatted as:
- rtmp://[Host Server]:[Host Port]/[Application Name]
Where:- Host Server is the ingest location of the server
- Host Port is the port (by default 1935)
- Application Name is the application name for the stream assigned by Wowza Video
- Stream key is the Stream Name value, such as b01bda67.
- Username and Password are the Source Username and Source Password values.
5. Test the connection
- Click Start Transcoder at the top of the Transcoder Details page.
- Click Start to confirm that you want to start the stream.
- Start your video source.
- In the Wowza Video web manager, confirm that the live stream is playing by looking at the Video Preview in the Overview tab of the Transcoder Details page.
The video preview displays a frame from the live stream every 5 seconds. The started date and time appear under the preview. Source stream, transcoder, and delivery metrics begin to update.
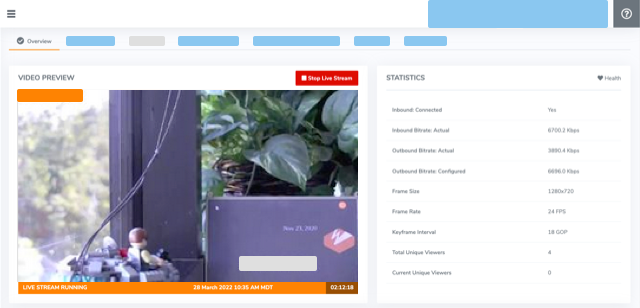

Wowza Video receives the stream from the source, starts transcoding, creates output renditions for the stream, and sends each output rendition to its target or targets.
View and edit a transcoder and its outputs and targets
The Overview tab of a transcoder detail page displays a list of the transcoder's Outputs & Targets. For each output, you can see the stream format, video and audio bitrate, H.264 profile, and aspect ratio. You can also see the targets assigned to each output.

- To edit the transcoder's settings go to the Transcoder Setup tab.
- To add or edit outputs or targets, go to the Outputs & Targets tab.


